Showing posts with label photo. Show all posts

Wednesday, August 8, 2012

10 Tips for Capturing Lightning

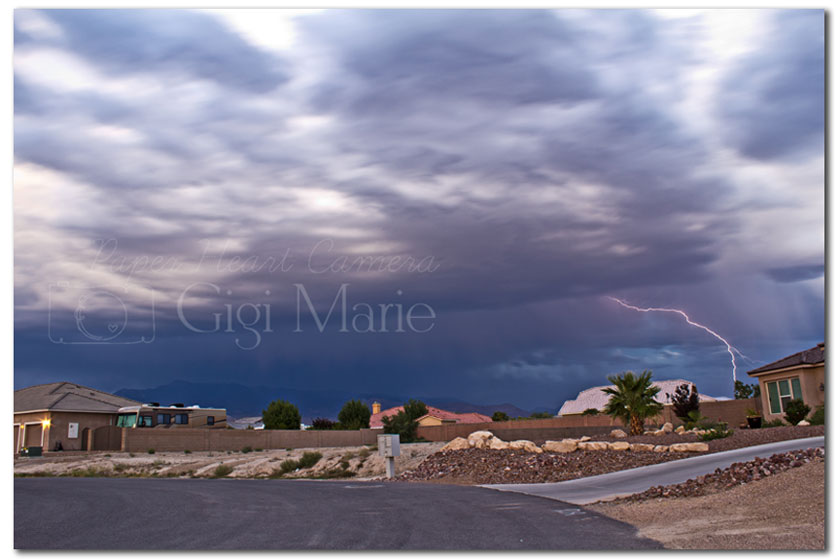
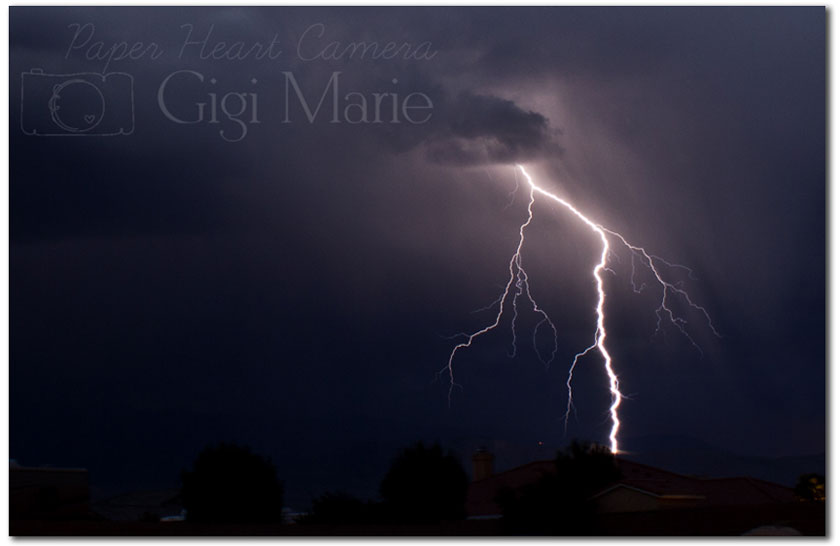
I have long been in awe of images of lightning.  It's such a raw & powerful thing & since it happens so quickly, it can be difficult to capture.  But I think this is why I was so drawn to learning how to capture it. There are some tips from Peter West Carey over on Digital Photography School found HERE that you might find useful.  Some, like the ISO suggestions, I actually disagree with- which leads me to the fact that each photographer does it a bit differently for the situation & their own personal taste.  There are numerous ways, many of which I have either not learned yet or have been unsuccessful at for now- but I am going to share with you the things I do to increase my chances for success.  



1. Start with the sky relatively dark.  I have tried as early as 6-7 p.m. & this still wasn't quite dark enough since the summer nights start so late.  You are going to have your shutter open for a long time- so obviously if it's too light out you will capture nothing but white. I am sure there are ways to capture during the day- I have not looked in to it yet & so I have no solid info on just how to do that. It's on my bucket list for sure. 
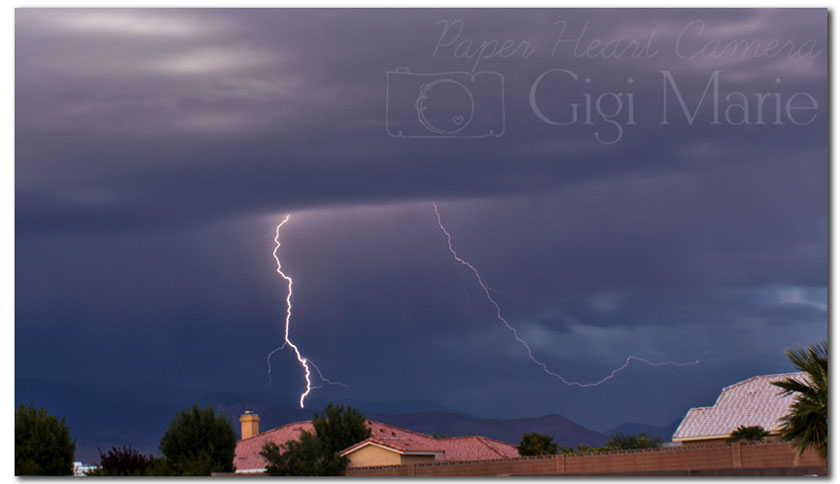

2. Use a tripod set in an area with a sturdy surface preferably with some cover in case you start to get rain.  The last thing you want is to have to abort your time capturing because you are getting wet.  
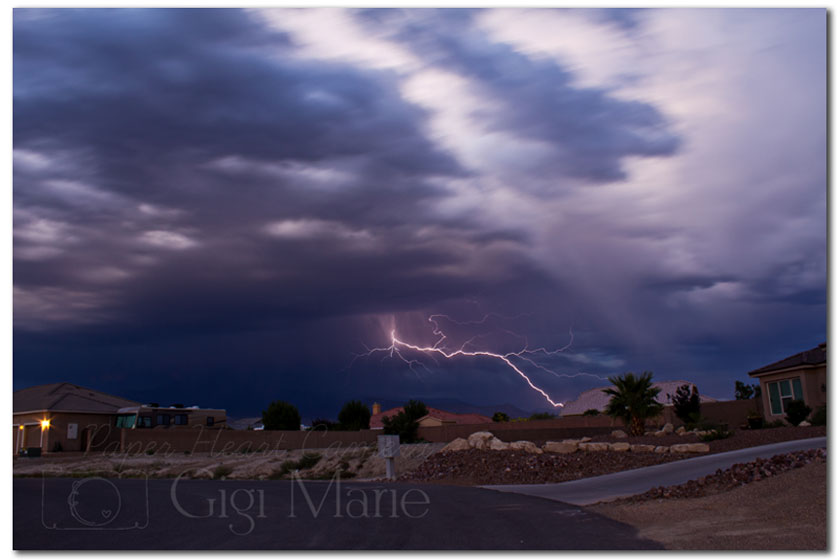


3. Use a wide angle lens.  For these I used my kit lens (18-55mm) because it is the widest one I have.  Because it doesn't have too much range in it's focal length, it's still pretty sharp. You never know where the strikes will hit. I can't tell you how many times I saw one come down & it was just outside my frame.  I was bummed.  
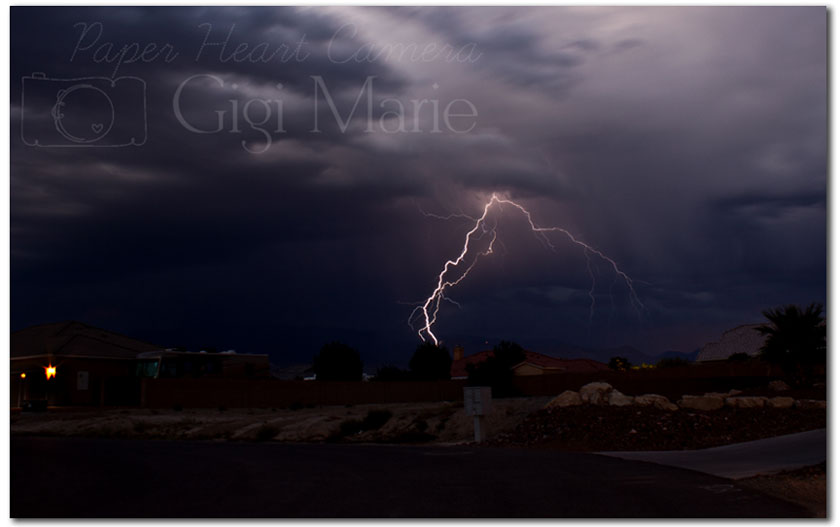

4. I also like to find a wide open spot.  I know that most places are not so open as we are here in the desert- so finding a wide open view that also has cover can be hard. But sometimes capturing what the lightning looks like through trees & having that view of the "whole scene" can really make the shots something special. 
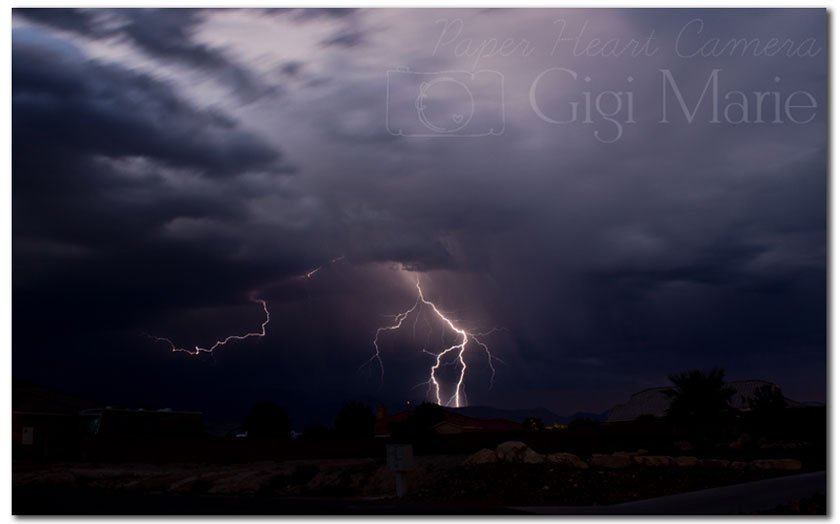

5. I like to set my ISO low so I have a nice sharp image- usually either 100 or 200. 
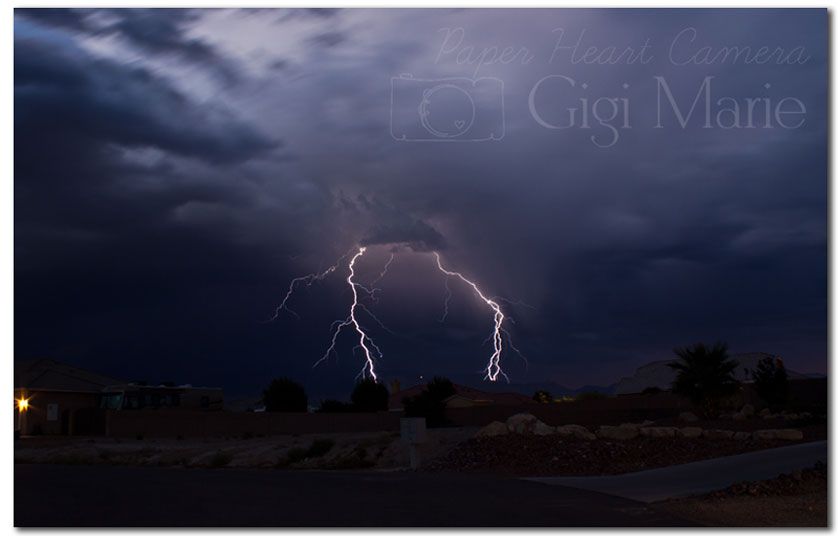


6. I set my aperture to f/7 or so to make sure I am able to capture everything I see in focus.  I have made the mistake of having it too open & ended up with the foreground in focus & the actual lightning was out of focus.  So this is something I really feel is imperative.


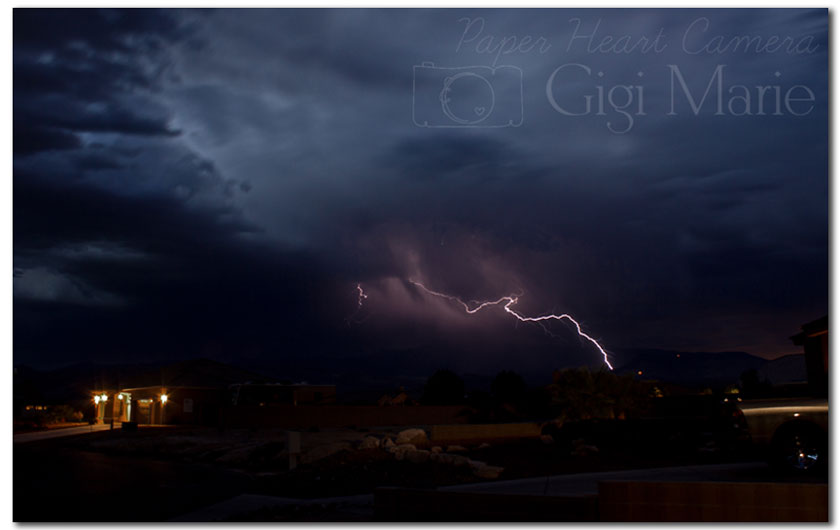
7. Shutter- set to 30 seconds.  For these images I was just pressing the button every 30 seconds- I have just recently started using my remote to set it to bulb & leave it open longer.  That is your choice & depends on the frequency of the bolts.  All of the shots in this post are from the same evening.  The storm was very active & so I was capturing at least one bolt with every 30 seconds the shutter was open. That totally helped & it went on for hours.  So if you are like me & you think you might miss something spectacular if you go inside- have a battery backup charged & ready to go.  I sat outside for 4+ hours with this storm, leaving my shutter open every 30 seconds for the entire time.  I pulled up a stool & just enjoyed the show. 
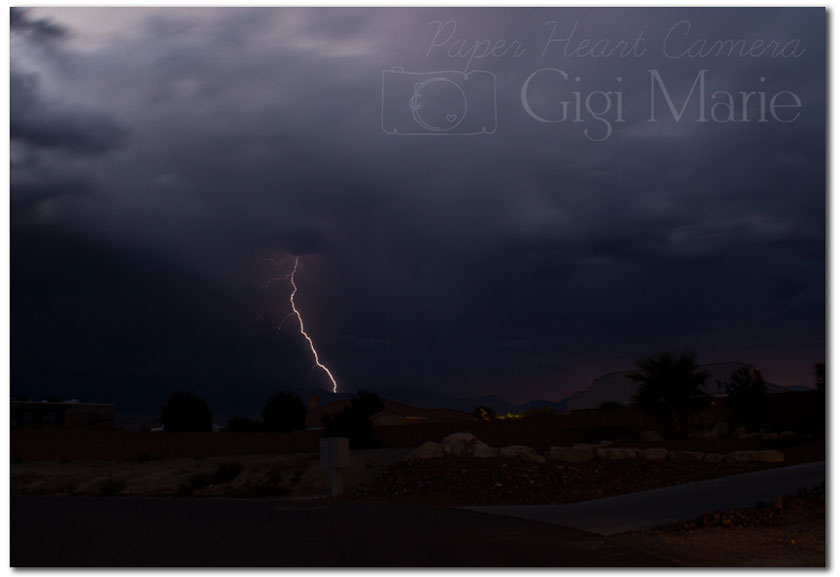


8. Because of the low light- you are going to want to focus manually.  This can be a pain- but I usually find something to get my focus on in the foreground & do a few test shots.  Then I zoom in to my maximum I can on my screen to make sure everything is crisp before spending all the time capturing for hours only to find out they are all out of focus & should go in the trash.  Once you get that focus- don't move unless you have to. Otherwise you have to start all over with getting your focus & then you might miss something awesome.
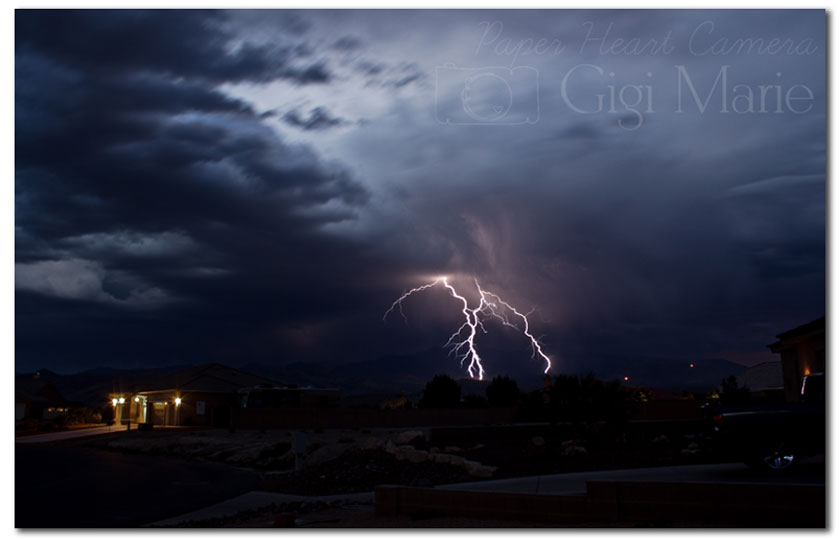

9. Be patient.  I can't stress this enough because while I had many captures in this particular storm- they don't all come with multiple bolts within a 30 second period of time.  There is a suggestion in the link I mentioned above that you can layer your images in processing if you like to get the desired effect you might be after.  I have not tried this.  I like to leave my images as true to what it really looked like, so I don't enhance them in that way. Which leads me to my next point...
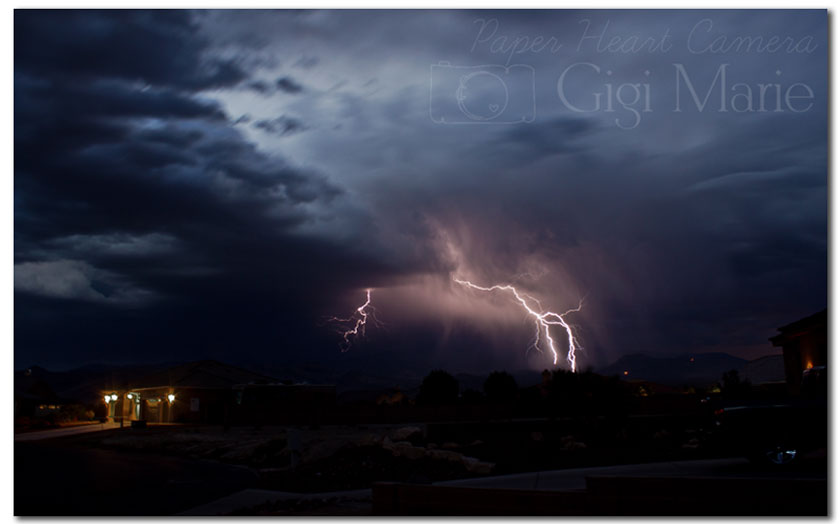

10. Don't over process.  All of these images I opened in ACR & adjusted the clarity & sometimes the temperature if needed.  Sometimes the lights from houses can come out very orange or yellow when the shutter is open that long- I feel it detracts from the real excitement of what I was out there to capture- so I always try to tone those house lights down.  Other than that- I sharpen & that is it.  Sometimes I will crop in as you have seen in some of these- but for the most part I really like to have the foreground showing to give scale to the storm over the neighborhood.  That is my personal taste though. 

Have a great time 

Gigi Marie the Chic Homeschool Mama  www.chichomeschoolmama.com

Pin It

Wednesday, July 11, 2012

Smoke Photography Tutorial

Hi everyone! Let start by saying that I am so honored to be part of this amazing group.  I still can't believe it's real & I am actually posting here today.  I pondered what I would talk about for a while & then it hit me. I have always been intrigued by photographs of smoke.  Learning how to do it has been on my "to-do" list for at least 6 months, if not longer.  So when Sarah asked me to be a contributor here on Paper Heart Camera, I felt it was the perfect opportunity to finally take a stab at it.  


smoke photography

You will need a black background, a spotlight or reflector, off camera flash WITH a snoot, incense & plenty of space.  I tried this in my office. I probably could have used some more room & when I try it again, I will definitely choose a different location. 

smoke photography
The thing to remember here is to keep the light OFF the backdrop. Don't let it shine there & don't let your flash bounce there (which is why the snoot is so important).  The other thing to remember is to be far enough away from your set up so that you are not getting flare in your lens from the flash.  Being that I had limited space where I was- I trashed a ton of images that otherwise would have been great if I didn't get the flare in there messing the whole thing up.  

I set my settings at ISO 200 (probably would take this down to 100 though), 1/160, f/7.1 
I switched back & forth with my 85mm & the 50mm trying to see which one was better for me.
I think all of these were captured with the 85mm. 

smoke photography
I had seen this done before & so I asked my son to insert his hand in there so I could try it out.  As it turns out- this gave the camera an added steady point to focus on rather than the smoke- so I ended up liking more of these with his hand than without.

When processing- I shoot in JPG but opened in ACR & adjusted the blacks to deepen the background, brightness to pop the highlights in the smoke & the clarity.  I also upped the vibrancy but didn't touch the hue/saturation- although I have heard of people really liking the effect.  In this case it would have messed with the skin tone- so I left it as is & I like it that way. 

smoke photography
Don't forget your patience. It's a lot like capturing lightning- you get a bunch that you end up tossing & a handful that are amazing keepers.  Give it a shot!


You can check out the rest of what I captured over at my place today. 


Pin It

Monday, June 25, 2012

Auto to manual mode. Easy “how to steps” to help you get started...

Are you currently shooting on automatic? and not achieving the photos you want. We’ve all been there. Really we have.
When you control the manual settings on your DSLR camera you will have complete control over what you want the picture to look like. Why not take the time to learn just how to do it? Its scary at first. I know, I was scared. I didn't want to take the chance on missing that moment because I was missing around with my settings. Look what I found after the rain storm today...
But once you start you will never want to go back. Plus it will cut your editing time down because your photo will be close to perfect right out of the camera with very little fine tuning.
Lets get started shall we? 


“Exposure triangle”


You need to know and understand the exposure triangle. It is made up of your aperture, shutter speed, and ISO. Using these three components will get you light meter to zero. And once you understand just how important light is to making or breaking your photo you will be able to master the manual mode.
Your light meter will look something like this (could very depending on your camera it should be a vertical line when you look through your view finder.)  –2….1…0…1…2+ when you adjust the 3 components you will want your ticker to be at zero or a little higher/lower depending on your taste. (I like mine 1 or 2 clicks higher.)
bikeblog6
Now lets talk about each component:

“ISO”


The perfect example I learned was from this sight. She explained it like this..  If you have it set at 100 think that you just sent out 100 worker bees to bring the light back to you. If you have it set at 1600 you just sent out 1600 worker bees to bring the light back to you.
superherowyatt1
Lower ISO = less light were as Higher ISO= more light
**Remember the higher the ISO the more NOISE (grain) you will have in the photo. **
Here are a few loose guidelines for ISO settings:
Bright sun - ISO 100
Overcast - ISO 200
Deep Shade - ISO 400
Indoors on a sunny day - ISO 200 – 640
Indoors on a cloudy day - ISO 400 – 1250
Indoors at night ISO- 1600+

“Shutter Speed”

The shutter speed is the amount of time that your shutter stays open. In most cases, you want the shutter speed to be fast enough to capture your image without any blurriness.
colorfestivalcopy32
Normally I never shoot anything under 1/80 unless I put my camera on a tripod. Settings below that could cause blurriness. Basically when I shoot photos of Wyatt I try to keep my shutter speed at 125 or higher just because I know that he will be a toddler on the move and I want to freeze the moment instead of blur that moment.  colorfestivalcopy6
The lower your shutter speed is the more light you will let into your camera because the shutter is open longer. The higher the shutter speed is the less light will enter into your camera.
More light = more blurriness Less light = less blurriness

“Aperture/ F stop”


Changing your aperture affects the amount of light that's in your shot and the scale used to measure the aperture size is the “f-number” scale. This sounds much more complicated than it is. There is one trick to understanding it: A smaller f-stop number indicates a bigger aperture opening.(F-stops are indicated by these numbers on your camera: f/1.4, f/2, f/2.8, f/4, f/5.6, f/8, f/11, f/16 ect.)
leaftrip
When shooting at a lower f/stop (ie: larger aperture: f/1.2 – f/2.8), the ‘in focus’ part of your image will be smaller and the background will be blurry - this is great for portraits, flowers and still life. Small apertures (ie: f/8 and above) cause more of the background to be in focus this is great for shooting families, interior, buildings or street life.
2011dadsbdaytripcopy8
Remember: Lower number aperture = more light and a blurrier background / Higher number aperture = less light and a sharper background

Here's a cheat sheet to help you remember…


So in what order should you adjust these? Well it depends on what you like but what I do is this:
1. Set my aperture – I like to first control if I want a “blurry” background.
2. Set my shutter speed – remember try not to go below 1/125 you don’t want a lot of motion blur. Now if my light meter (remember this: –2….1…0…1…2+ ) is not where I want it then I…
3. Change my ISO – I try to do this one last just because I like my ISO to stay at the lowest number possible so I have less “noise/grain” in the photo and you should be able to get the exposure you want by just change the first 2 depending on how the light is where you are shooting.
Now guys this takes time to master and the only way to get better is by practicing and try out your settings and really when I started out learning manual mode I would switch it to Auto and snap a photo and then look at what settings the camera set and then I would adjust those in manual mode. Do what feels right to you and don't get discourage, keep practicing and soon you will love that you made the change to manual mode.


Audrey from The Daily Wyatt


Thursday, January 5, 2012

Light Scoop for your DSLR Flash!

Hello friends! I'm here to share a new fave/cheap toy I have for my DSLR! It's called a Light Scoop. Jess, from IROCKSOWHAT, introduced it to me. AND, it really does work. This little goody will work perfectly for the time since purchasing a speedlight is definitely not in my budget for now. So, Here's a little SOOC with my flash and SOOC with the speedlight.


I'm very excited to use this more! Perfect for my dark dark home. :D By the way: I bought mine on Amazon. For more info on the Light Scoop, check out their site. :)