Showing posts with label bokeh. Show all posts

Monday, September 3, 2012

ORBS OF FUN

DSC_0328_edited-1

You know, you would really think that I would be more prepared.... being that I blew off my article last month, thus giving me two full months to prepare something exciting to share with you folks. 

But no, noooooo.... here I sit still indecisive about which direction to go with a photography related post.  I have a zillion ideas.... yet not one wants to lament itself here in blogland. 

So, I'm just going to run with something near and dear to me... right now.   Something that I can't seem to stop myself from photographing.  Bokeh... orbs and orbs of Bokeh. 

Let's start out with the boring stuff.   What is Bokeh? 

This seemed like a pretty good definition to me (taken from HERE.)

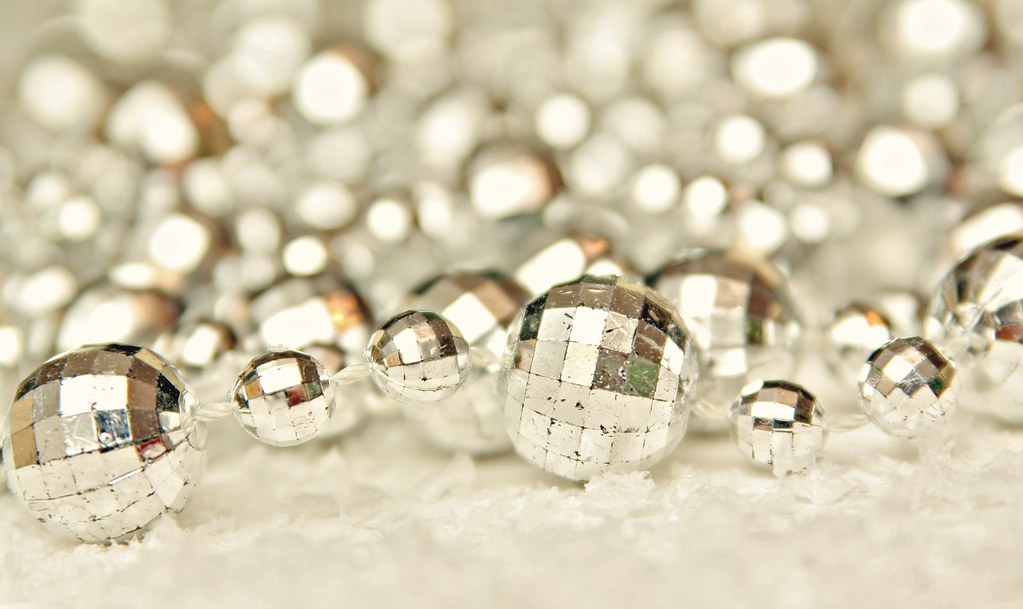
The word “bokeh” is a derivative of the Japanese word boke, which means “blur”. In photography this refers to the blurred area of the photograph. Basic bokeh photographs feature an in-focus foreground with a blurred dreamy haze-like background. When coupled with out of focus lights, this blurry background can create an illusion of large orbs.

So, to achieve this effect, you need a blurry background.  Which is actually pretty easy if you set your aperture as WIDE as it will go.  (Which means you want it at the smallest number that your lens can handle.)  Most of my photos are taken with my aperture set at 1.8.   By setting your aperture as wide as it will go, you are creating a shallow depth of field.  Meaning that anything that isn't focused on will be blurry.  BINGO.  We've got blur!

Now, to get those magical orbs, we need need to have lights in the blurred area.  Which doesn't have to mean lights in the electrical sense.  You can find plenty of "lights" out in nature.  Anything that catches light can also create those orbs. 

So, here's what I have been using lately.  When I stumble down my stairs at 7am I notice that (A) the sun is just rising over the houses and (B) our sprinklers have just turned off.  This combination creates the most magnificent sparkly feast-for-the-eyes you ever did see.  And all that lovely sparkle, when blurred out, makes BOKEH ORBS.  So, before I've even had my coffee I find myself out in my yard, camera in hand, shooting away at flowers and grasses. 

DSC_0336_edited-1

The effect just never ceases to amaze me.  It has a magical allure or something... that just pulls me right in! 
DSC_0483_edited-1

Spider webs can make for interesting bokeh filled images.
DSC_0465_edited-1

You can even achieve the effect just playing with a boring old garden hose or a faucet in your kitchen. 
DSC_0560_edited-1 DSC_0546_edited-1

So, to recap..... if you want to get bokeh orbs you need: 
1.  BLUR (Use a wide aperture i.e. low number)
2.  Make sure there "lights" in the blur.  I captured all of these images using water droplets as "lights."
3.  Back lighting also helps to achieve this effect.


I hope that helps! 
I took most of these photos in the past couple days.  But, I have been obsessed with bokeh orbs for a long time.  I even started a flickr set a while back for bokeh photos.  If you want to see more examples, check it out HERE.

Hope you had a great holiday weekend.  
Thanks for reading along -
Brooke

Sunday, July 10, 2011

Show and Tell Faves: Sparkle

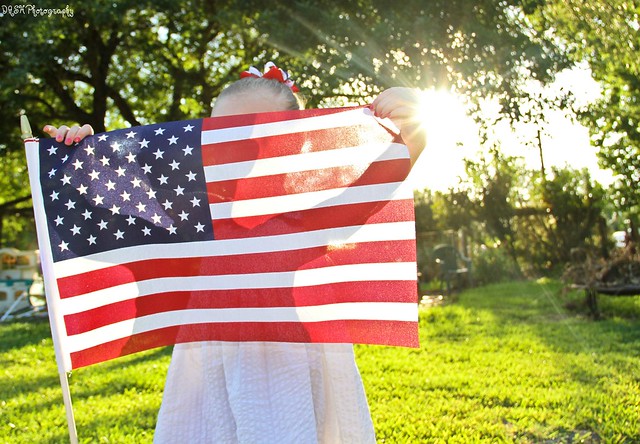
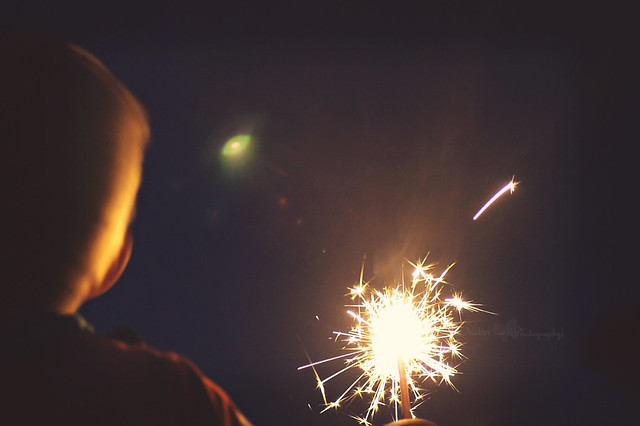
{Dash Photography}

{The Daily Wyatt}

{4 Lettre Words}

{Bunch of Barrons}

{They Call Me Mama}

BEAUTIFUL photos everyone!


Photography love...


Saturday, December 25, 2010

Show and Tell: "Bokeh" faves

{Live Every Moment}

{Linkie Lueville}

{A Sorta Fairytale}

{Everyday Extraordinary}

{Polka Dot}

Photography love...


Sunday, December 19, 2010

Show and Tell: Bokeh

Hello! I've REALLY been seeing a ton of beautiful bokeh shots out there recently! It must be because of all that pretty holiday decor that's up right now! Well, if you don't know what OR how to shoot bokeh... I VERY much recommend checking out this great Christmas Tree Bokeh How-To by Karli over at the Bonnie 5! So helpful.


Show:

Tell: This is one of my favorite bokeh shots. We were at a little wine shop in Bellingham, WA... I was sipping my wine and noticed how much the light sparkled off the wine bottles in the background. The rest is history. ;D


................................... 
You are welcome to link up to your blog post or a flickr photo. Please link back to Paper Heart Camera. Thank you!

Link up closes on Thursday's at 11:59 PM my time. :) Come back Saturday to see if we share your photo as a favorite.

UPDATE:
Once a month we will give you a one word (sometimes 2) inspiration for a self portrait challenge. Have fun with this! The self challenge will be judged by a guest judge. This next months self challenge will be up on December 26th and the challenge word is "Sitting".


Wednesday, December 15, 2010

HOW TO Night Shoot

I suppose I should introduce myself, I'm Shaunna from Captivus Living I'm the newest "lady" amongst the ladies, and I'm honored. I was so excited when Paper Mama asked me to join them, perhaps too excited that it was obvious... So here I am! You can find out more about me here if you're interested.

My first post will be somewhat simple--indoor night shooting. 


What you will need:

Camera.
Tripod.
(if you want really sharp night shots, but if you can stabilize your hand somewhere then you might not need this).
An idea.
A setting (obviously).

Alrighty then....

Here are some I took in my daughter's bed one night, messing around, being a dork with her nighty nite light Sea Turtle... 


My idea & setting?
The Sea Turtle Night Light that illuminates stars out it's shell and onto my daughter's ceiling in her room--and shoving my face right there.

My camera?
My Canon 7D that my daughter still keeps asking to use and play with, evening during this little spontaneous shoot. 

What I did...
I did NOT use a tripod for the above shots. I rested my hand on the bed to stabilize it while giving my setting a low shutter speed. Speaking of settings, the setting I started out with was this:

Screen shot courtesy of Lightroom 3

Horrible ISO! I know.

Now, a low shutter speed is better to have than a higher ISO because of the noise that you will get in your images with the high ISO. However, it all depends on keeping your camera steady for that low shutter. As you see in my settings, my ISO was somewhat high, but with my 7D I can do that because it is known to have GREAT ISO power, but I still do not like to use it high.


Just mess with your shutter speed and remember that the lower/slower the shutter speed, the better/sharper the shot will be for night shots IF you have the camera steady.

Don't turn on any other light in the room if you have an object like this [the turtle]. I wanted the stars to be the main focus/source of light.

I moved my hand behind the turtle and rested it on the bed/covers. It was firmly positioned there and very stable; therefore, I was able to get a somewhat of a sharp shot with my shutter setting. I was guessing and hoping that my face would be in the shot, LOL. It takes practice, but eventually you know where to point the lens to make sure you capture what you want.

As for the editing that I did in Photoshop CS5, I used a free sample action called Lemon & Honey in the Sweet Treats collection from Paint the Moon. It brightened up the shot even more.

Here are some great, helpful sites to learn more on night shooting and/or tripod setup if you choose that route:

Tuesday, November 23, 2010

Touch Up Tuesday: Sparkly

Hello! I'd LOVE to welcome all of you lovely people to the 10th Touch Up Tuesday at Paper Heart Camera!

................................. 

BEFORE: SOOC


Texture I used:


AFTER:

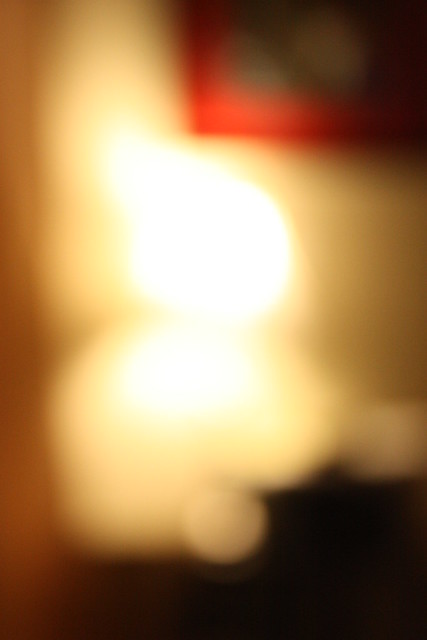
My edit: So, sometimes when it's late at night and I haven't taken my photo for my 365 days of photos... I'll just randomly shoot something. This time it was my blurry lamp I took a photo of. I did some basic edits and took care of some noise. Added the bokeh texture from I Heart Faces and lowered the opacity a bit. And, there we go!

Someone had mentioned that my After photo would be a cool texture, so your all free to use it! Just right click on the photo and click "view image". Then, right click again and "save". Just one thing: This texture is for personal use only. No commercial use please. Thanks!


Photography love...


Link up your Touch Ups below! Linky's always close at 11:59 PM Wednesday evenings (Pacific time).


Thursday, October 21, 2010

Clone tool, Bokeh & Photo Filters

I started writing tutorial on how handy the clone tool can be, using this photo as an example. It's taken me forever to write it for some reason but I'm glad it did becdause the very talented Ashley Sisk recently posted an amazing tutorial on how to create a "fairy garden" effect.  And then I thought "That is a perfect tutorial to go along with mine!" So make sure to go check her tutorial out!

I've always wanted to have a bokeh overlay/texture that I could turn to, whenever I wanted to add it to a photo.

This is the photo I started out with. It had bokeh on only half of the photo, which isn't bad but I wanted a large enough file that I could use on practically any size photo.

So to do this, you'll need to have a photo that already has some bokeh.


I used my clone tool to create the same bokeh effect on the entire photo.
  1. Choose your clone tool
  2. You'll probably want to adjust the brush options at the top to the desired size and opacity. This will vary depending on what you are trying to clone.
  3. To select the area you want to copy from, move the mouse to the area you want to duplicate and press the Alt key while clicking on the exact area you want to copy.
  4. From here you will simply click and drag over the part of the image you want to change.
    Make sure to try out different brush settings to get the effect you want.
There will be a lot of trial and error involved but keep at it! 

    Here is my completed filled in bokeh image.

    Now that this is done I am going to save it and use it on an image.  For the image I am using I needed the bokeh layer to be a little warmer. So I use my photo filters to warm it up a bit. Have you used Photo filters? They are awesome!!

    Image> Adjustments > Photo Filter
     
    From here I chose the warming filter. You can change the density to your liking!
     
    But let's say I was adding this bokeh overlay to a cooler photo? And the brownish bokeh background didn't quite fit the color scheme of the image.

    A cooling filter would be perfect in this case.
      
    Here is the before and after of my leaf photo with the bokeh texture that I made.

    Not a huge difference but enough to give it a sparkly feeling. I've chosen to erase the bokeh off of the grass/leaves and only leave it in the background. But, to achieve the effect that Ashley was talking about, you'll want to keep the layer in front of the image.

    You can download these bokeh textures from my flickr, if you'd like.
    Download them HERE.


    post signature