


I know that a lot of the times I post on here I talked about textures. but I love that we can create images that we want in this digital age. So I just want to do a step by step tutorial to added out the norm textures to allow you to get creative with your photos.
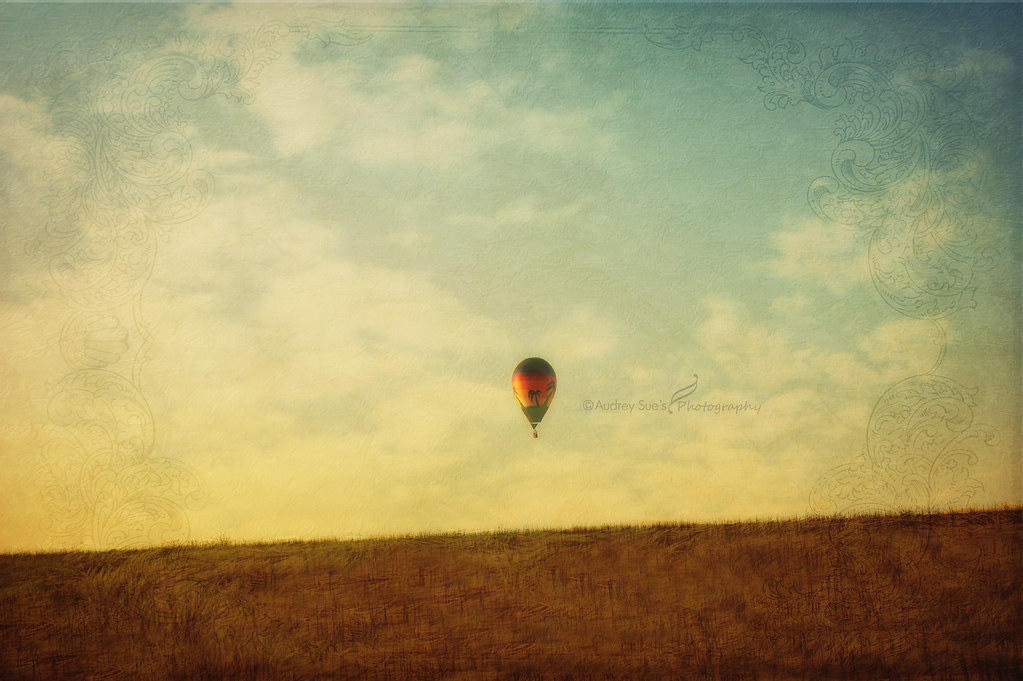
A few weeks ago I went to a balloon festival and the balloons didn't take to the air until really late which didn't give me the ideal light I wanted. So after being bummed out by the photos I took I decide that I was going to save them by added what I wished I could have captured.
Now just know that I used Photoshop Elements 8 so if you use something else some of these tips might not work for you.

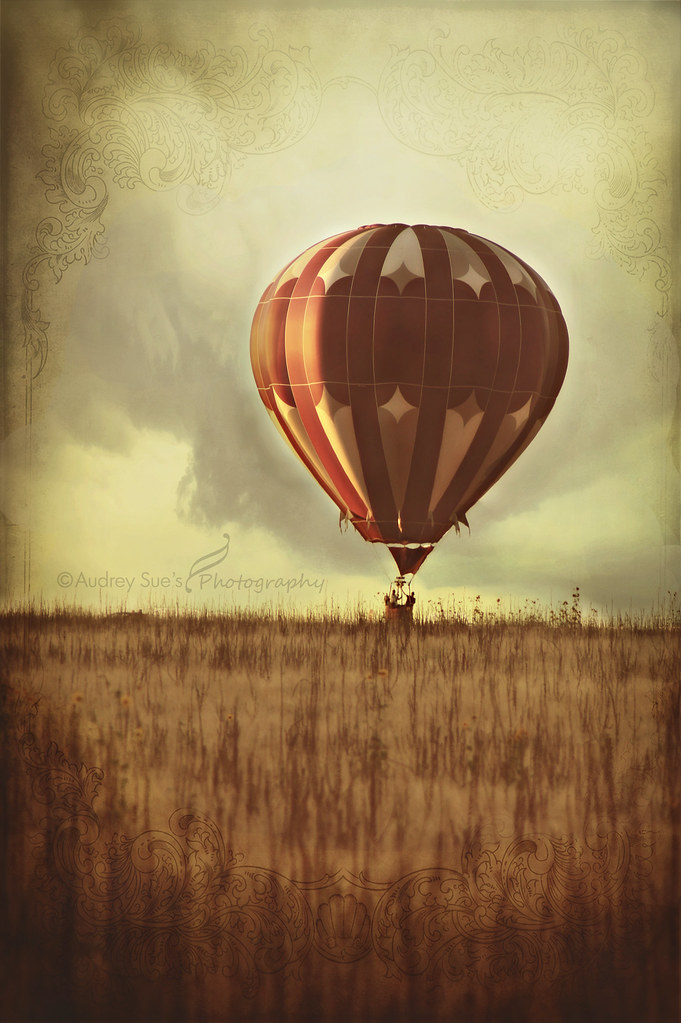
First you need to open up the photo you want to edit and do your clean edits because you want you photo to be the best it can before you add any type of textures. I know I wanted to make this photo very dramatic. So I searched the internet for free textures for Photoshop and brushes.
The textures I used were these…
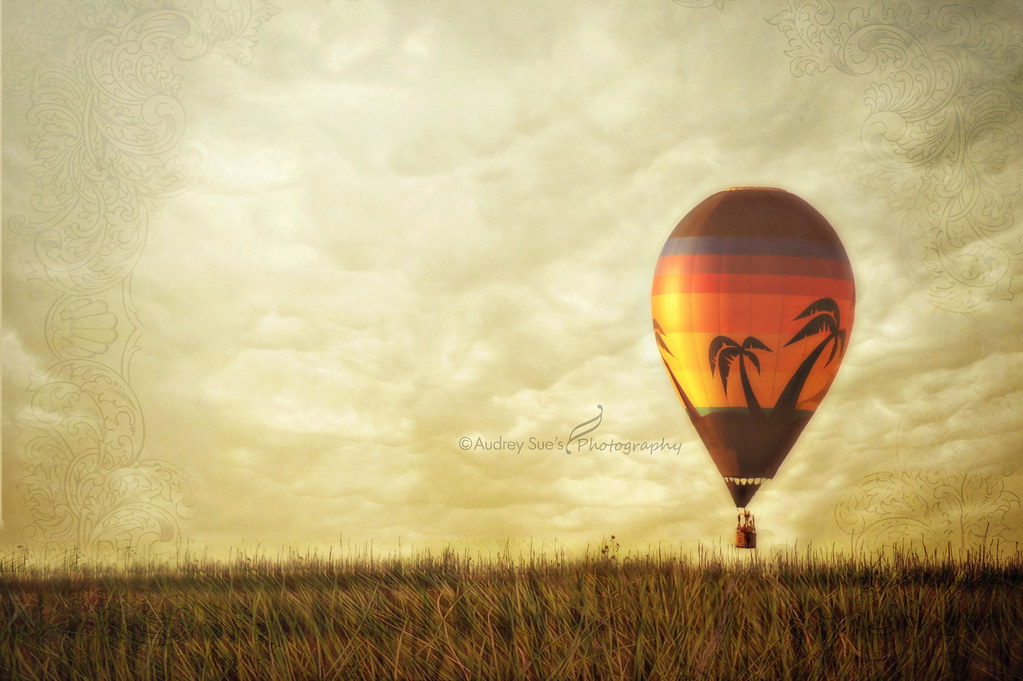
How I added it all together was added the warmth to it with a PW action.


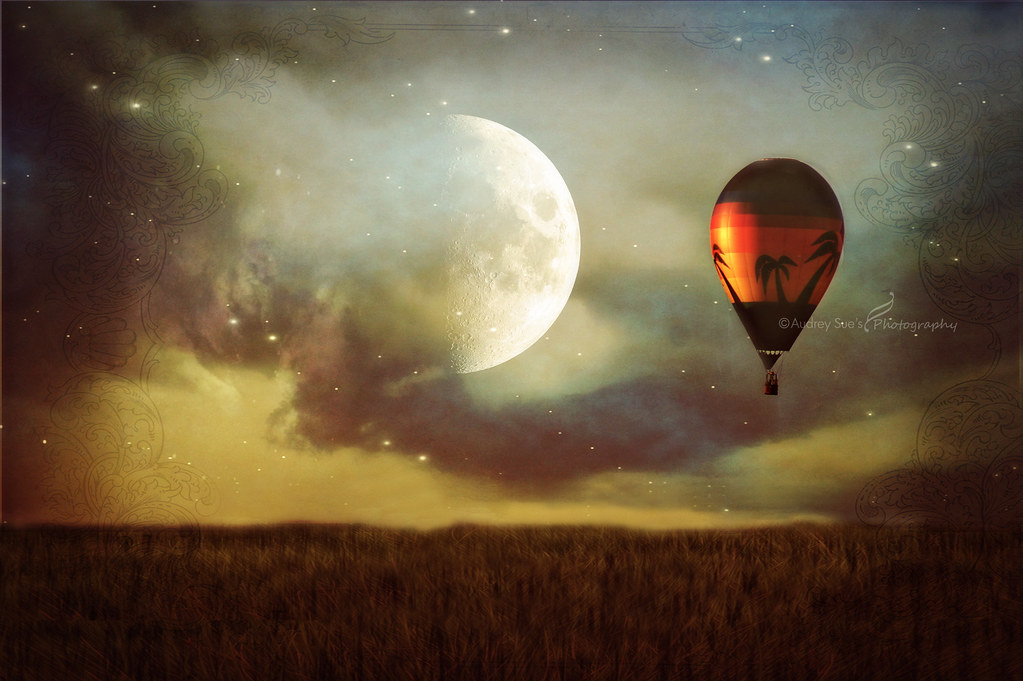
Then I added the clouds change they layer to soft light lowered the opacity to my liking and erased the texture over the hot air balloon.
Then added the stars again changing the layer to soft light lowing the opacity erased the texture over the hot air balloon.
I fixed the colors added a sun haze with a coffee shop action. added the grass to make it more alive. (again changed to soft light lowing the opacity.) I first made a new layer then added the moon with a “moon bush” then I lowered the opacity to make it more realistic. added a vignette then added the border texture.
I think I fixed the colors again with actions. sharpened and reduced the noise and was done. NOW, this took a few hours to get it right. ( and I still see things I would change.) So be patient but do be creative. Textures can make amazing photos if you know how to use them and the only way to learn is by practicing.
If you guys end up using textures like these I would love to see them! Post them into our FLICKR GROUP so we can get inspired by all of you and link up to the linky I host every Thursday for Texture Thursday.

Audrey- The Daily Wyatt
That texture work is AMAZING.
ReplyDeleteWow. VERY amazing. You are like a texture pro!
ReplyDeleteLove the textures
ReplyDeletehaha i love these... so cool :)
ReplyDeleteI am addicted to textures. well done!! :)
ReplyDeleteAmazing! Cant wait to try this :)
ReplyDeleteOh so fun! So much fun that you showed us this. Do I have to get me such a program. You're really good! Have a nice weekend.
ReplyDeletewow, deine Fotos sind wunderbar!
ReplyDeleteWow! Great work with your layers and different textures. These are very creative and I really like what you did here I especially like the one with the moon, very cool. If I could make one suggestion, what would it have looked like if you had put the star layer behind the moon layer since stars are never in front of the moon?
ReplyDeleteThis is beautiful! Thanks for sharing.
ReplyDeleteI love using textures, although I don't use them nearly enough! This just inspired me to! I love you last edit - just beautiful!
ReplyDeleteBeautiful! i agree with michelle i need to use textures more often!
ReplyDelete