Hello!! I am so excited and so honored to be posting on Paper Heart Camera! This is my first time posting, so I am just a little nervous. :)
Today I wanted to share a quick tutorial on a simple and clean edit for your beautiful photos. I usually do this to almost every photo when I edit and then I play around with other actions and textures to enhance my photos even more.
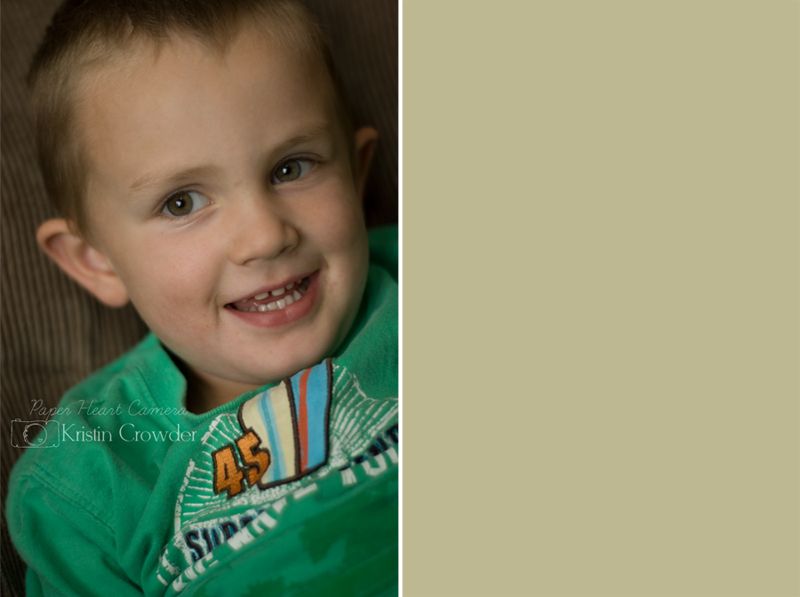
This is a photo of my oldest on his last day of preschool. I took it indoors facing our open windows so I could get the catch light in his eyes. It wasn't the most perfect lighting but hey... I got him both looking and smiling at the camera!
So first off, I open my image up in Photoshop and adjust my white balance since I can tell that I am a little off.
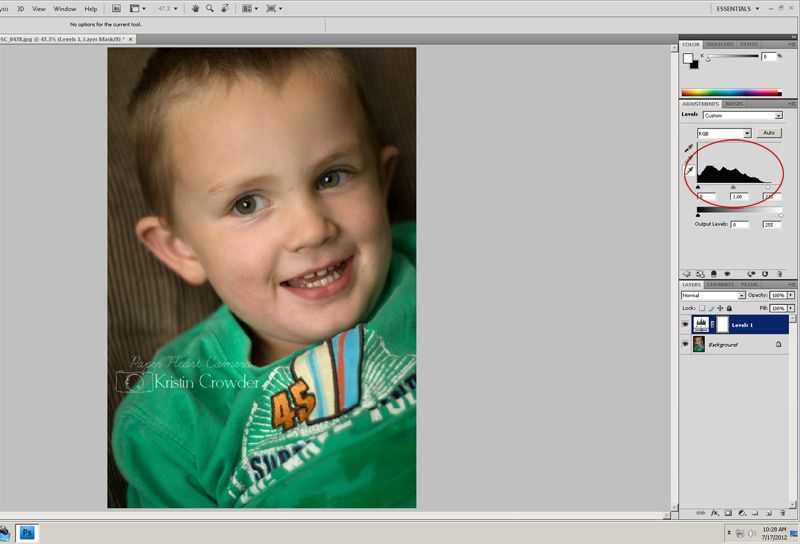
I am sure there are many simple and other ways but I like to go to Layers --> New Adjustment Layers --> Levels and adjust it to my liking. This way it lightens up the image a little and corrects the exposure some.
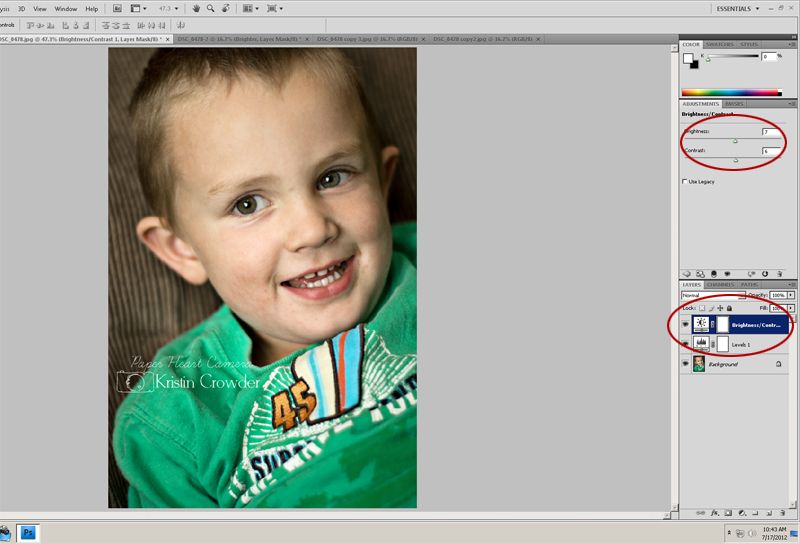
Then I like to adjust the brightness and contrast. So again I make a new adjustment layer by going to Layer --> New Adjustment Layer --> brightness and contrast. I adjust it ever so lightly so that that it gives the image just a little depth but not so drastic that it looks weird. So for this image I set the brightness to 7 and the contrast to 6.
Also, for this image I wanted to smooth out his skin some and clean up around his mouth just a little bit. I should note that there are a lot of amazing actions that are made for smoothing and softening skin, but for this quick exercise I am going to show you a quick and simple way I do it sometimes.
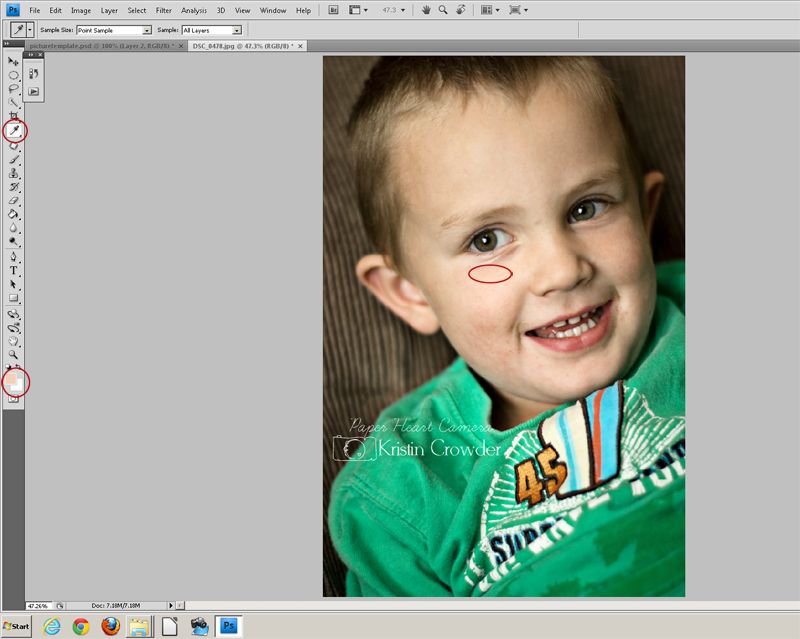
I take the eye dropper tool in the tool bar and select the almost lightest part of his skin, in this case right under his eye on his cheek bone. I then take a soft white brush with the opacity set to 11% and softly paint along his face and around the mouth. Since his face is slightly darker on the other side I used the eye dropper tool and selected again on the opposite cheekbone to paint along that side.
I should note that before I begin painting I like to copy my background and paint on the copy layer. That way if I overdue it or it looks too fake I can just toss that layer without ruining the previous work.
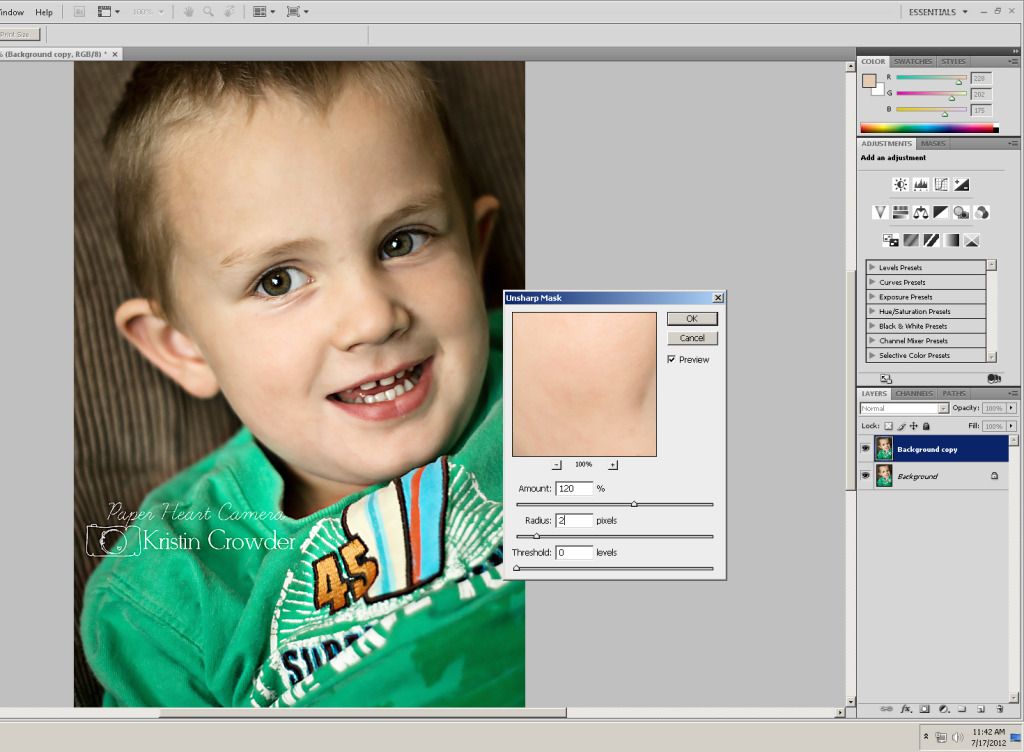
Once I am finished with my clean edit I like to sharpen it a little. I go to Filter --> Sharpen --> Unsharp Mask and adjust Amount: 120% Radius: 2 pixels Threshold 0 levels.

And there you have it. A simple and clean edit!
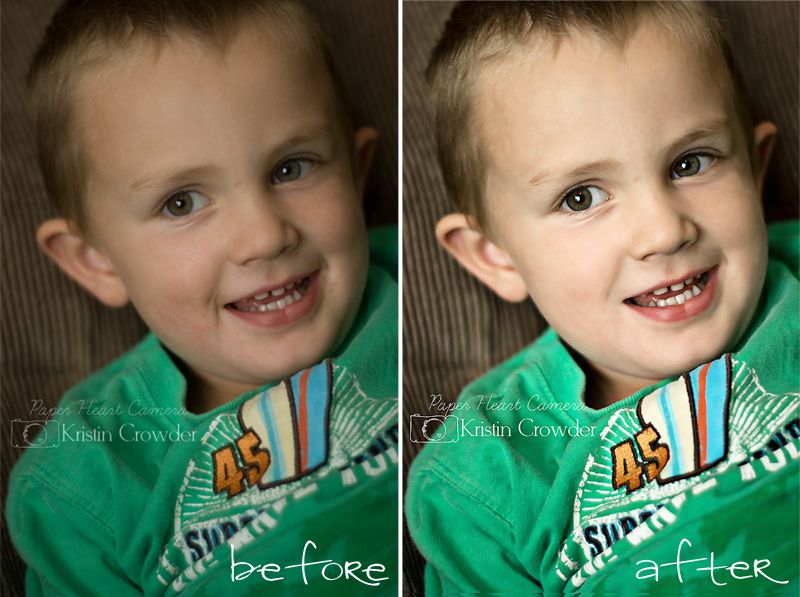
And here is the before and after side by side.
Hope you enjoyed this tutorial. You can check out more of my images over at
k.c.captured if you like!


 I use photoshop to edit my photos, so once I am done with my edit I then add my texture. Kim Klassen is an amazing place to get textures. And MCP Actions has a free add texture action on her blog page. It makes it easy and simple!
 Once you've added the texture of your liking, I like to mess around with the layer option, i.e. multiply or soft light and opacity.
 And there you go, a vintage look to a fun picture! Super easy!
 When you add texture to photos with faces and people, I like to use a soft brush or eraser to erase some of the texture off the subject. That way it your subject stands out and doesn't have any weird lines or colors on them.
 And sometimes, just keeping it simple makes all the difference. You don't always have to make it dramatic to give it the right look.


