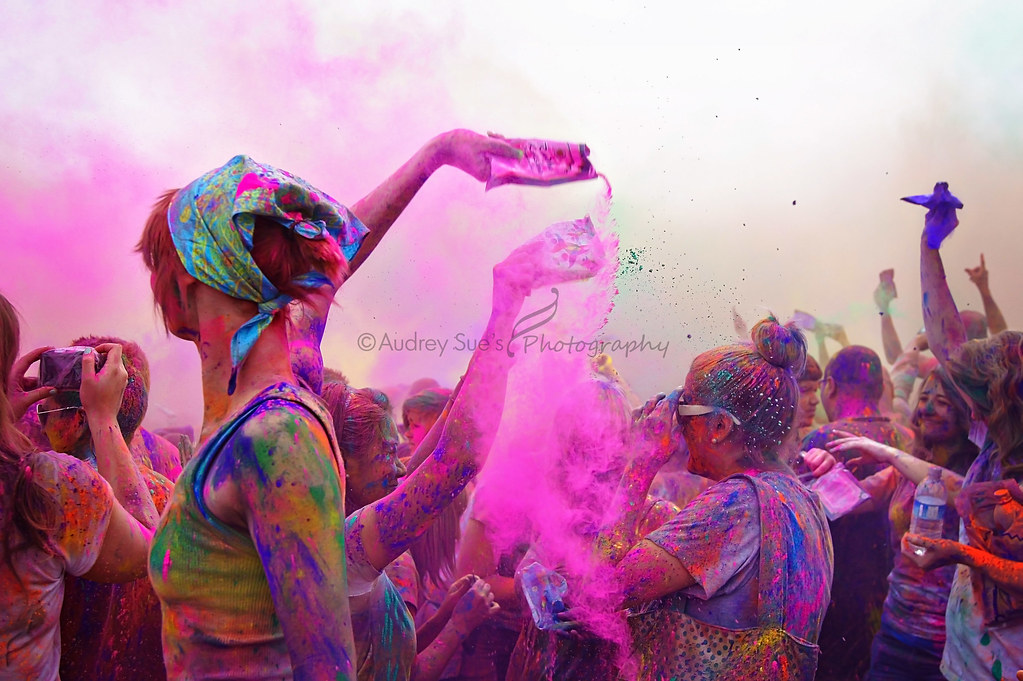
When you control the manual settings on your DSLR camera you will have complete control over what you want the picture to look like. Why not take the time to learn just how to do it? Its scary at first. I know, I was scared. I didn't want to take the chance on missing that moment because I was missing around with my settings.

But once you start you will never want to go back. Plus it will cut your editing time down because your photo will be close to perfect right out of the camera with very little fine tuning.
Lets get started shall we?
“Exposure triangle”
You need to know and understand the exposure triangle. It is made up of your aperture, shutter speed, and ISO. Using these three components will get you light meter to zero. And once you understand just how important light is to making or breaking your photo you will be able to master the manual mode.
Your light meter will look something like this (could very depending on your camera it should be a vertical line when you look through your view finder.) –2….1…0…1…2+ when you adjust the 3 components you will want your ticker to be at zero or a little higher/lower depending on your taste. (I like mine 1 or 2 clicks higher.)

Now lets talk about each component:
“ISO”
The perfect example I learned was from this sight. She explained it like this.. If you have it set at 100 think that you just sent out 100 worker bees to bring the light back to you. If you have it set at 1600 you just sent out 1600 worker bees to bring the light back to you.

Lower ISO = less light were as Higher ISO= more light
**Remember the higher the ISO the more NOISE (grain) you will have in the photo. **
Here are a few loose guidelines for ISO settings:
Bright sun - ISO 100
Overcast - ISO 200
Deep Shade - ISO 400
Indoors on a sunny day - ISO 200 – 640
Indoors on a cloudy day - ISO 400 – 1250
Indoors at night ISO- 1600+
“Shutter Speed”
The shutter speed is the amount of time that your shutter stays open. In most cases, you want the shutter speed to be fast enough to capture your image without any blurriness.

Normally I never shoot anything under 1/80 unless I put my camera on a tripod. Settings below that could cause blurriness. Basically when I shoot photos of Wyatt I try to keep my shutter speed at 125 or higher just because I know that he will be a toddler on the move and I want to freeze the moment instead of blur that moment.

The lower your shutter speed is the more light you will let into your camera because the shutter is open longer. The higher the shutter speed is the less light will enter into your camera.
More light = more blurriness Less light = less blurriness
“Aperture/ F stop”
Changing your aperture affects the amount of light that's in your shot and the scale used to measure the aperture size is the “f-number” scale. This sounds much more complicated than it is. There is one trick to understanding it: A smaller f-stop number indicates a bigger aperture opening.(F-stops are indicated by these numbers on your camera: f/1.4, f/2, f/2.8, f/4, f/5.6, f/8, f/11, f/16 ect.)

When shooting at a lower f/stop (ie: larger aperture: f/1.2 – f/2.8), the ‘in focus’ part of your image will be smaller and the background will be blurry - this is great for portraits, flowers and still life. Small apertures (ie: f/8 and above) cause more of the background to be in focus this is great for shooting families, interior, buildings or street life.

Remember: Lower number aperture = more light and a blurrier background / Higher number aperture = less light and a sharper background
Here's a cheat sheet to help you remember…

So in what order should you adjust these? Well it depends on what you like but what I do is this:
1. Set my aperture – I like to first control if I want a “blurry” background.2. Set my shutter speed – remember try not to go below 1/125 you don’t want a lot of motion blur. Now if my light meter (remember this: –2….1…0…1…2+ ) is not where I want it then I…
3. Change my ISO – I try to do this one last just because I like my ISO to stay at the lowest number possible so I have less “noise/grain” in the photo and you should be able to get the exposure you want by just change the first 2 depending on how the light is where you are shooting.
Now guys this takes time to master and the only way to get better is by practicing and try out your settings and really when I started out learning manual mode I would switch it to Auto and snap a photo and then look at what settings the camera set and then I would adjust those in manual mode. Do what feels right to you and don't get discourage, keep practicing and soon you will love that you made the change to manual mode.
Audrey from The Daily Wyatt


Thank you for this!!!
ReplyDeleteTHIS was perfectly written Audrey! Thank you! I've been shooting in only manual for about the last month & it's all starting to make sense... & I have to REALLY think about what I'm doing less & less. THANK GOODNESS!!
ReplyDeleteawesome post!! great job & beautiful images :)
ReplyDeleteGreat tips and beautiful photos!
ReplyDeleteThank you thank you thank you!!!! This will help me to get started!!!
ReplyDeleteThank you so much for posting this! Manual never made sense to me till I read this...it's so easy!!! I read this two weeks ago and have been shooting in manual ever since! Once again, Thank You xox
ReplyDelete