


Before I get started, I should mention that Chelsey suggested I write this piece A LONG TIME ago - seriously, it's been in draft mode for months. I've been dragging my feet and I apologize. With that said, I really hope this is helpful.
So you've bought your first DSLR and you're ready to take better pictures. One problem...you have the exact same camera as "so and so." Their camera takes beautiful photographs, but your photos still look blah. Well, it may be the photographer (just kidding…kinda)...but, it could be that you just need to stop using AUTO and start shooting MANUAL!
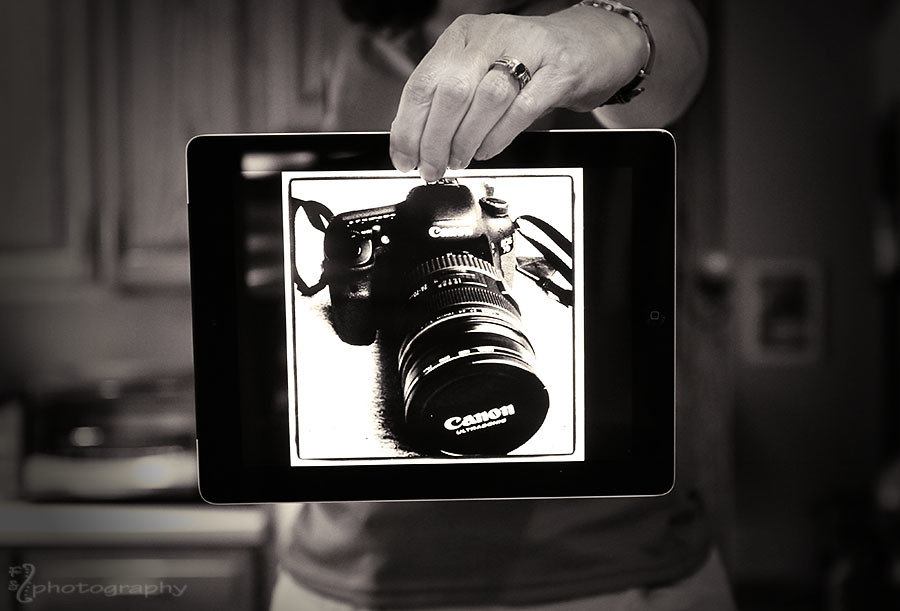 |
| Symbiosis by RSL Photography |
For example, I recall doing one of my first portrait sessions with a friend. I thought to be safe, I should shoot in Aperture Priority Mode. After breaking out into sweats because I was so nervous, I realized that every one of my shots were underexposed. I made a split decision to go back to shooting manual. Wah lah, 100% improvement.
Now, if you follow my blog, you know that Jill and I started a new photo challenge called Shoot and Edit at the beginning of the year. Each week, she provides a photography tip on Monday while we link up our SOOC shots based on her advice. Then on Thursday, I provide editing tips and encourage you to link up your edited shots based on my tutorial. Jill truly knows her stuff when it comes to photography and is teaching us to work towards proper exposure in camera.


Manual Mode is as simple as setting up a tripod. Like a tripod, each leg needs to be set properly, but it’s really not that difficult. So, let me quit rambling and provide you with four simple steps for going manual:
- Visualize the shot and determine what you want to control. Do you want to a nice depth of field or motion blur?
- Adjust your settings:
- Set your ISO speed:
- ISO 100: Great for bright sunny days, at the beach or on the snow.
- ISO 200: Great for overcast daylight pictures (noise levels may increase, but in most cases not noticeably).
- ISO 400: Great for lower lighting conditions (indoors, night time) or when you need to capture faster moving subjects in lower lighting conditions.
- ISO 800 or above: Generally used for lower light and night time settings, but can produce a lot of noise.
- Set your aperture:
-

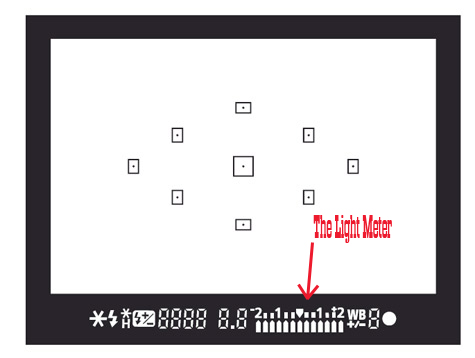
- Balance your light meter: Using your in-camera light meter, adjust the “balance control” – whichever control is not fixed. I will almost always fix my aperture and adjust the shutter speed to balance. While camera manufacturers tend to stick to a theme across all their cameras, every camera is a little bit different (thus the reason I recommend looking at your manual). But to give you a rough idea, here’s how mine works. The goal is to set the “balance” so that the meter reads zero. If your shot will be overexposed, the meter fills in to the right; underexposed and it fills to the left. Nikon’s metering system is very similar, except flipped. So in Step 3 above, you’ll adjust the balance control until the meter reaches zero. And to be honest with you, I tend to over-expose just a touch.
-
-

- FOCUS!
With that said, if you haven't already...go out and experiment in manual mode. Practice these easy steps – Visualize your shot, adjust your settings, balance and focus– and learn how simple manual mode really is. It's really that easy and you won't go back to shooting any other way!
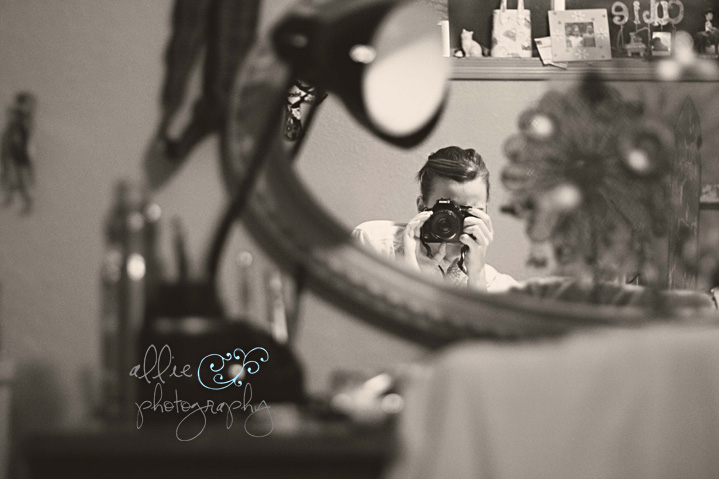 |
| Day 228 by Allie Photography |

Great tutorial! I didn't know that about the light meter. Nifty!! Thanks!
ReplyDeleteThis is the clearest tutorial I have ever read! Thanks Ashley. I still won't make any guarantees from me, but I'm trying. LOL Love the tripod analogy, it really helps me remember there are three things to adjust.
ReplyDeletewhat an awesome tutorial. love this! thanks.
ReplyDeleteYOU ROCK!
ReplyDeleteThanks for the easy to follow tutorial. I just bought my first DSLR 3 months ago. This week I made the decision to start learning manual. So far most shots are way to bright or over-exposed. I am a work in progress,lol, but, i'm getting there!
Great post, so true. Once I started shooting in manual I never looked back, love it!
ReplyDeleteGreat post!!! I've been manual since the fall....and I'm helping a "photograper" this weekend who wants me to use his old full frame Canon....in Program mode....I was quite shocked. So I've been practicing with the flash my way....
ReplyDeletegREAT TUTORIAL!!!
ReplyDeleteThanks so much for sharing this today, Ashley! I was taking some sunset beach shots for a friend a few weeks ago and they seemed dark, so I bumped up my exposure compensation (which I guess is the same thing as the light meter) and it helped out a ton.
ReplyDeleteYou have inspired me to shoot on manual again, after Faithy's class last fall I was all about it, but I've gotten lazy.
Great tutorial!
Nice post. I need to shoot in manual more. Thanks for the nice tutorial.
ReplyDeleteWonderful post....I will have to use it my digital camera class!
ReplyDeleteThis just what I needed gave me a better understanding... Thanks for your wonderful Tutorials
ReplyDeleteYOU are amazing. This is great!
ReplyDeleteThank you so much for this. I was good at manual for a bit, basically just beginners luck and then I started to go downhill. I went to my niece and nephews soccer game tonight and all I have to show for it is a bunch of crappy blurry photos. I'm going to use this tips tomorrow and hopefully have a better outcome.
ReplyDeleteThis is great!!! You helped me SO much. I have been looking for a simple tutorial like this.
ReplyDeleteTHANK YOU!
Thank you so much for posting this; it inspired me to take my camera off of aperture priority today. At first, my pictures were dark, but once I played with the shutter speed, they turned out crisp and perfectly lit. Thanks again!
ReplyDelete