


*Update: Whoops! Sorry guys... apparently I turned off the comments. SORRY! It's back on.
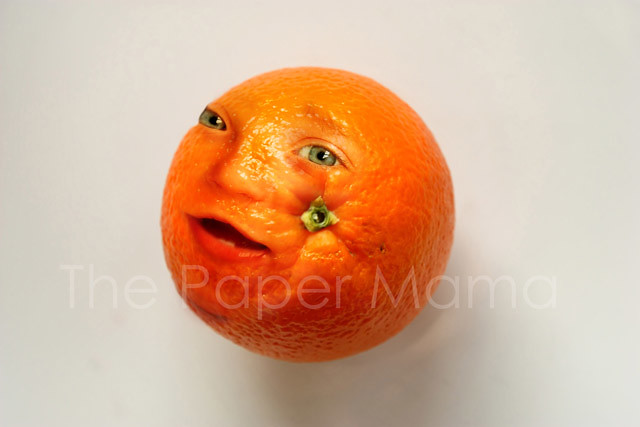
Transform your fruit into the beauty you ALWAYS knew it could be.
Transform your fruit into the beauty you ALWAYS knew it could be.
 |
| {The Paper Mama} |
Anthropomorphism is a term coined in the mid 1700s to refer to any attribution of human characteristics (or characteristics assumed or believed by some to belong only to humans) to animals or non-living things, phenomena, material states and objects or abstract concepts.
Hey everyone! Do you think your fruit is a bit boring? Needs a little more personality? Well, look no further! Your fruit can now look just as beautiful as you are!
Today we are going to learn how to give our fruit (or, really ANY inanimate object) life. I originally found a different tutorial for this same thing here. But, as I was following that tutorial... I noticed a few things that I would like to add. Note: I use Adobe CS3
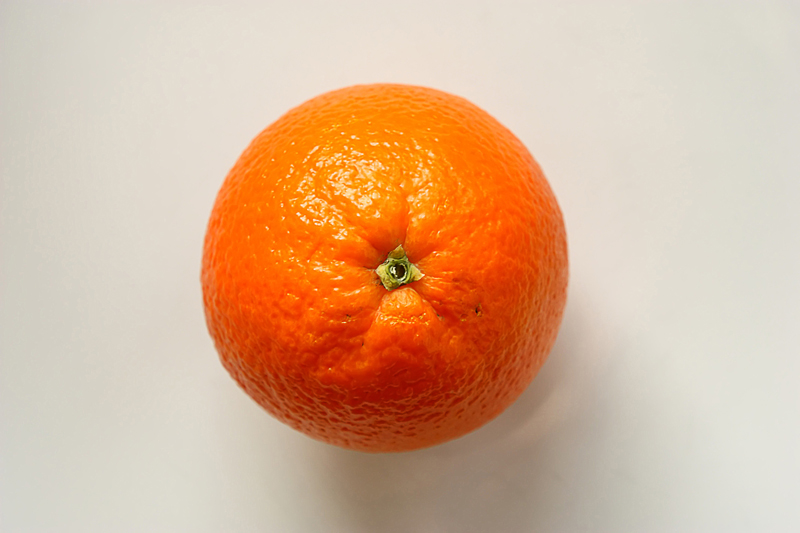
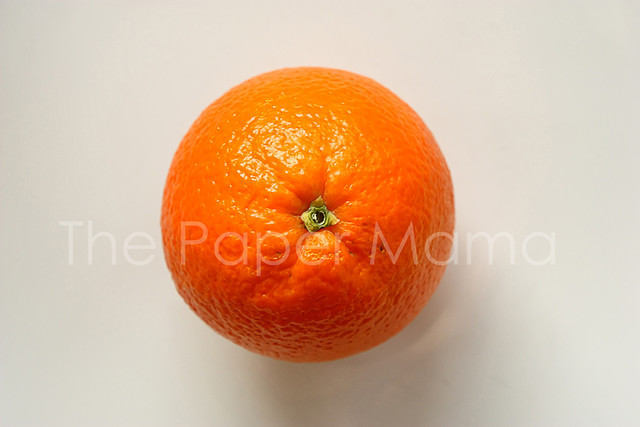
One: Start with a basic photo of a fruit. You are MORE than welcome to use my 800 x 533 orange photo by going here (once you click on that link... Right Click and choose save). Or, here's a pear from the other tutorial you are welcome to use too.
{You can click on any of the tutorial photos below to see a larger view}
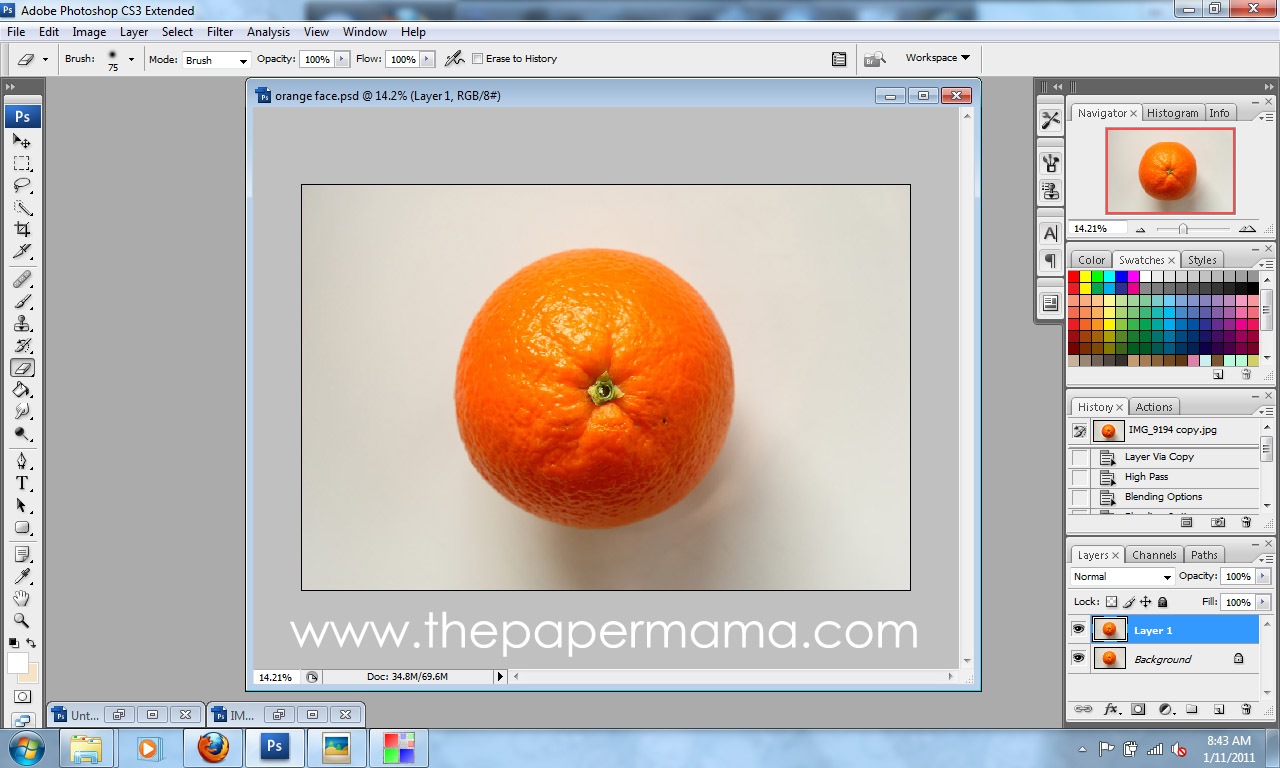
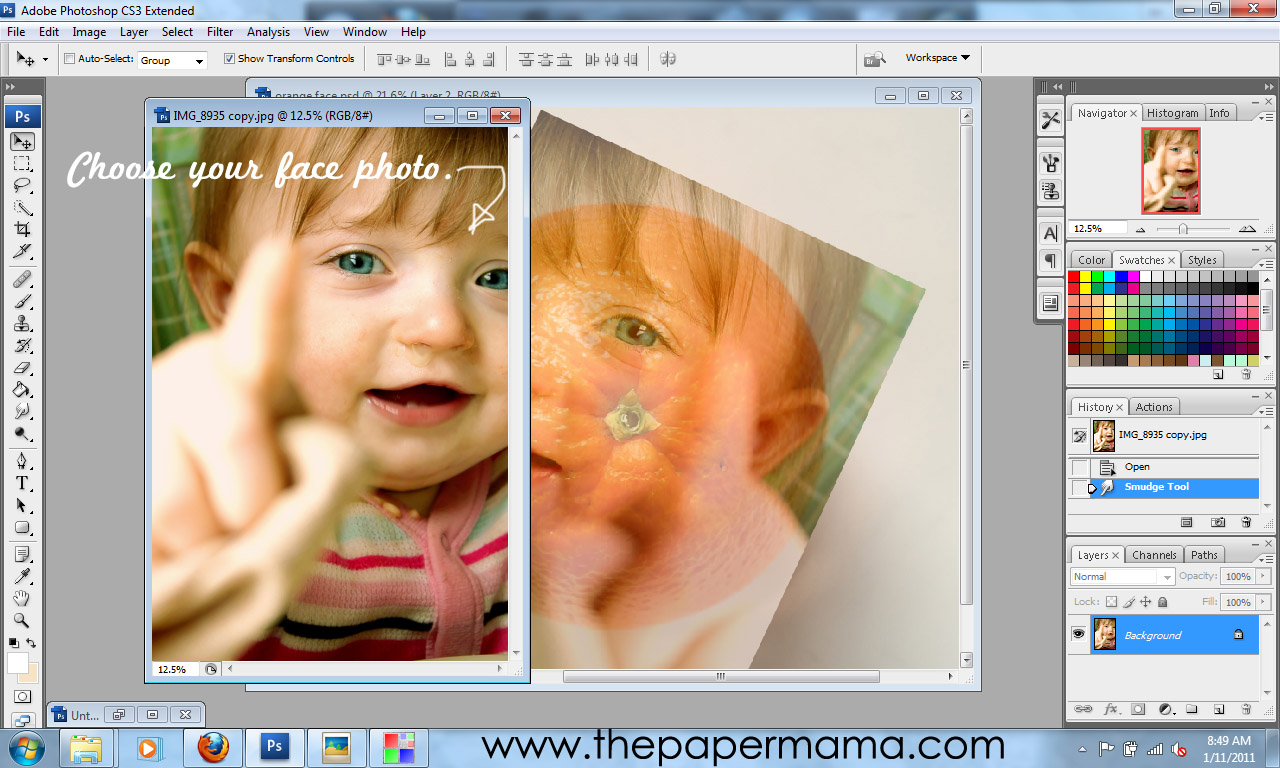
Two: Find a face photo and drag and drop it over your fruit photo. I think using a photo with an open mouth looks a little more interesting. Lower the face photo's opacity to 60%. Then, rotate and resize {Edit>Free Transform} the face photo to a position you are happy with.

Three: Using the Eraser Tool... begin cleaning up and erasing any part of the face photo that is NOT on the fruit. Then, erase and clean up the details of the face. You can raise the face opacity now if it helps.

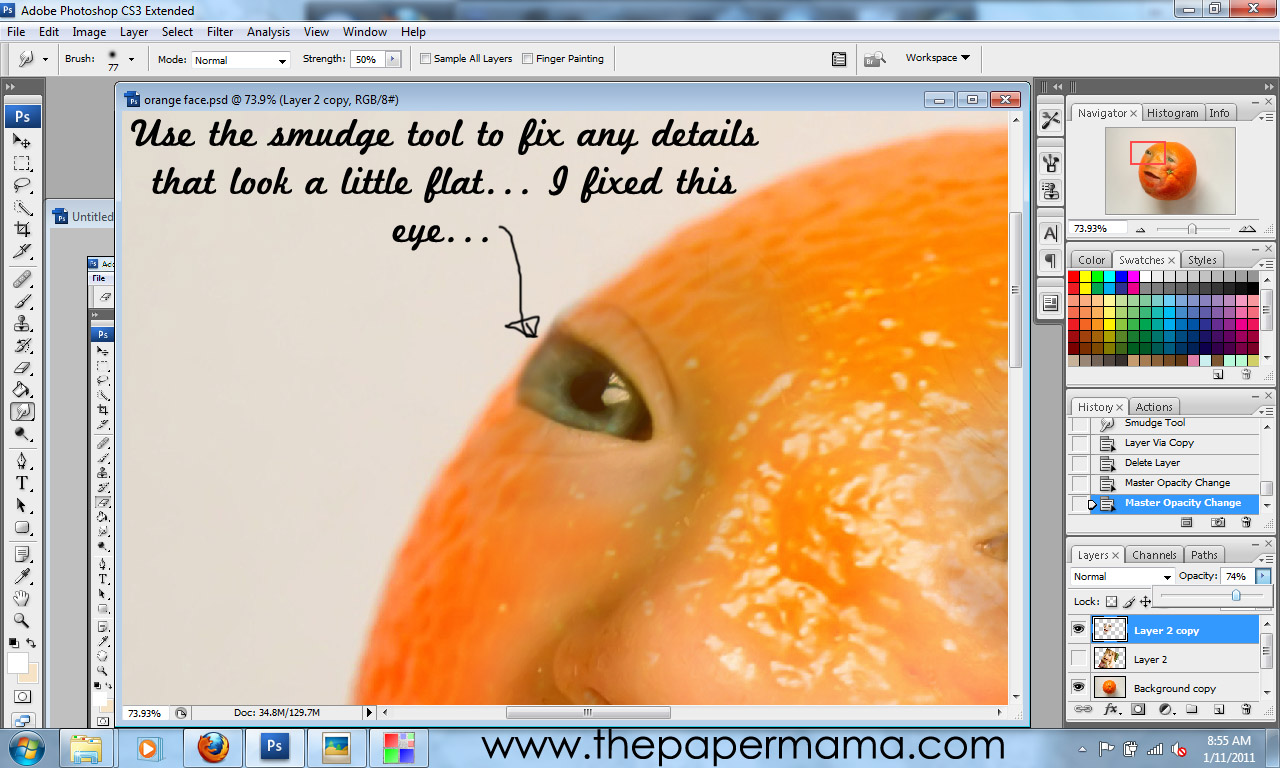
Four: Since I chose a photo that had part of my baby's eye cut off... it left a very sharp angle on the eye. To fix this I used the Smudge Tool to slightly smudge her eye so it was softer and more round.
Five: Make sure your face photo opacity is back up to 100%. Make a copy {CTRL+J} of the face photo. Hide the copied face layer {Click on the eye in the layers list}. Clicking back on the original face photo adjust the color balance {Images>Adjustments>Color Balance} of the face to match the color of the orange (or whatever the color of fruit you are using).

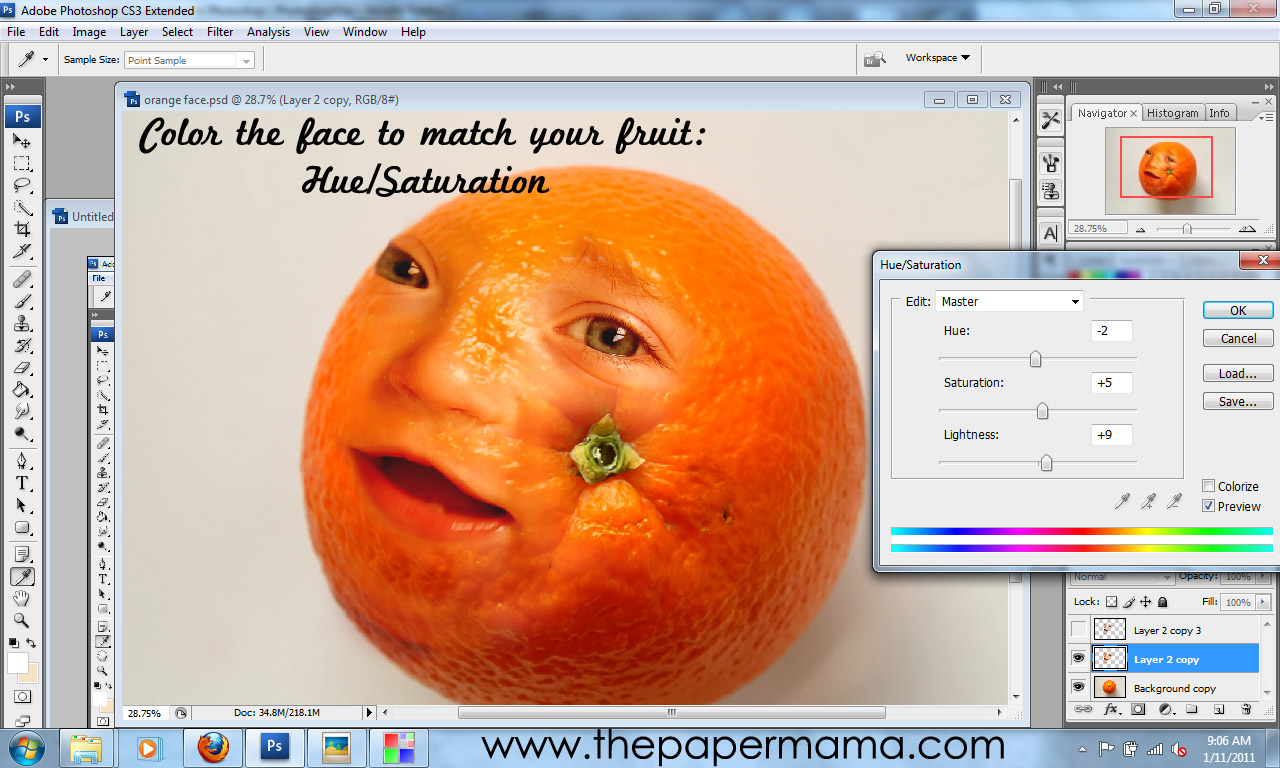
Six: While on the original face layer adjust the Hue/Saturation {Images>Adjustments>Hue/Saturation} of the face to match the color of the orange (or whatever the color of fruit you are using).
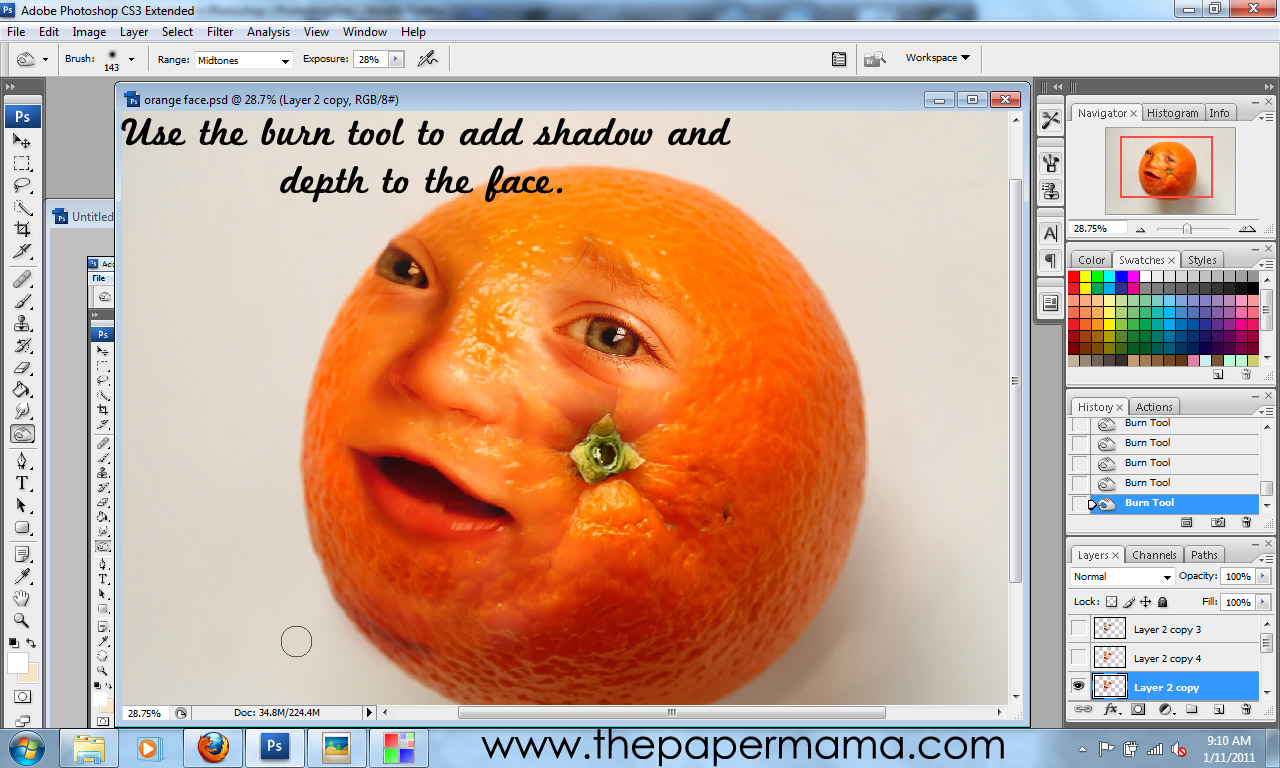
Seven: Select the Burn Tool. Adjust the burn tools exposure to about 20%. Using the burn tool add shadows and depth to the face photo. This will give a more realistic look.
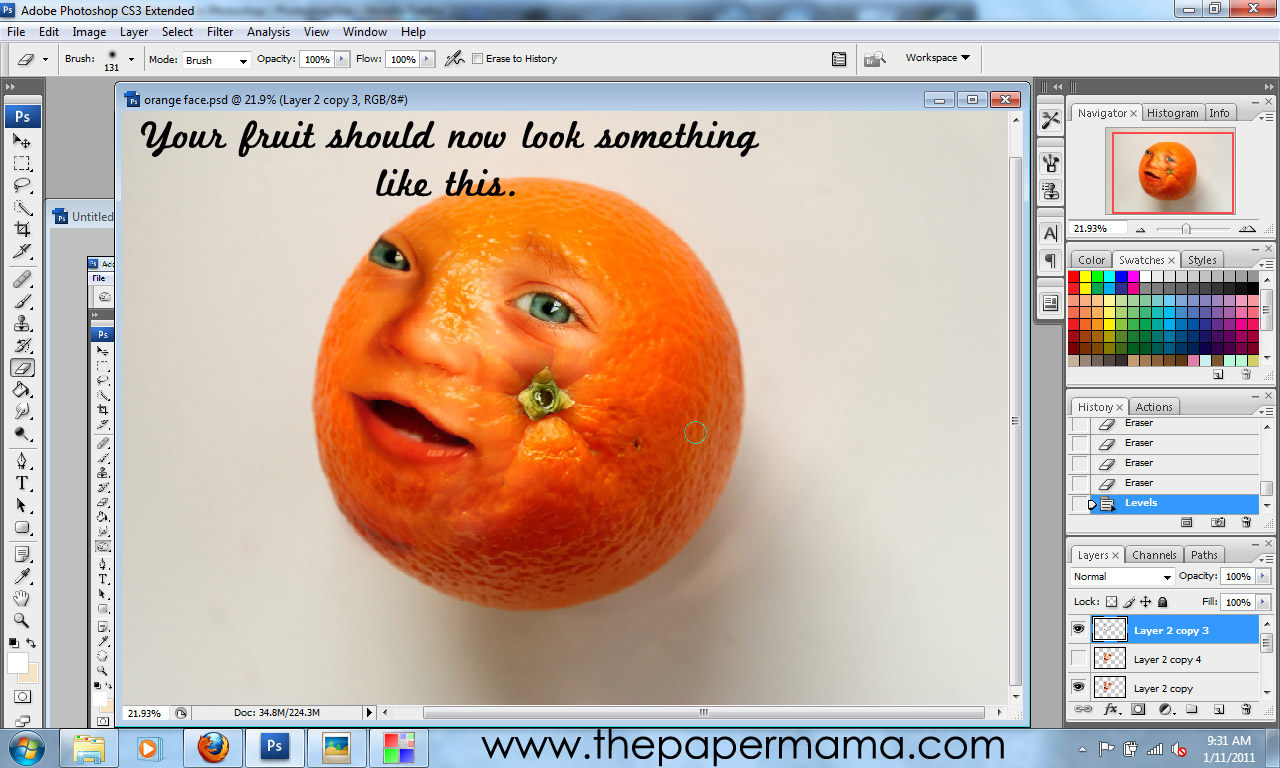
Eight: Go back to the hidden face layer copy and turn it on. Use the Eraser Tool to erase everything from the face layer copy except: whites of eyes, nostrils, and inside the mouth. If you feel the eyes, nose, and mouth are a little too dark... feel free to repeat steps Five and Six on the face copy layer to your taste.
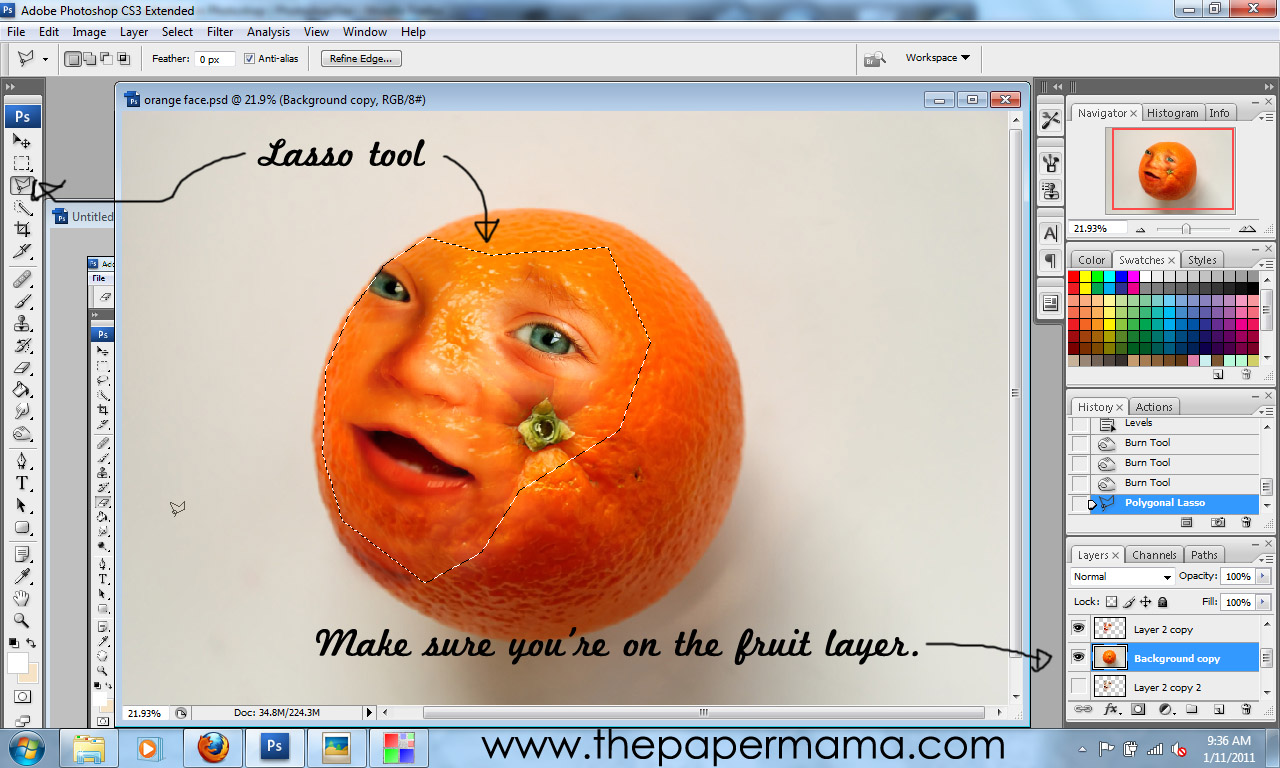
Nine: Select the Lasso tool (it's up to you which sort of lasso you'd like to use). Select the orange photo layer. Use the lasso tool to lasso the piece of fruit around the face. Duplicate the lassoed area {CTRL+J}. You should now have a copied portion of the fruit. Move this layer to the top of your layers list.
Ten: While on the lassoed fruit layer... set the blending mode to Soft Light. Adjust the brightness and contrast of this layer {Images>Adjustments>Brightness/Contrast} to your taste. Select the Eraser Tool, set on a Soft Brush, to erase the edges of the fruit lassoed layer. Smooth things out a bit.

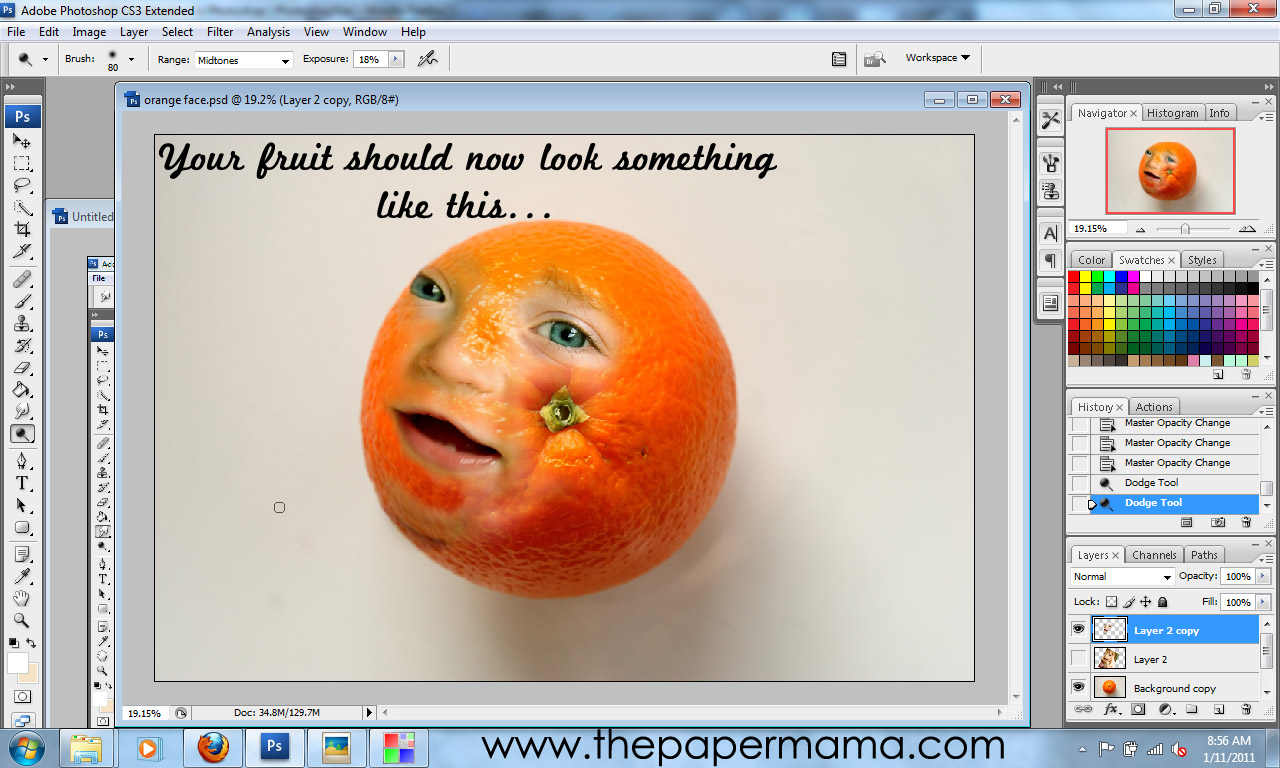
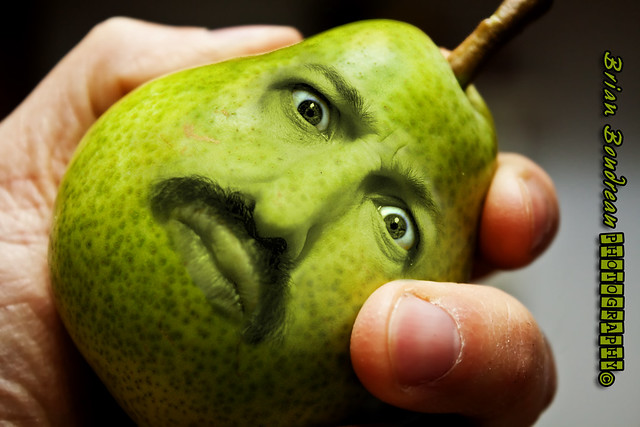
AND, you're done! Your photo will hopefully look something like this:
|
| {The Paper Mama} |
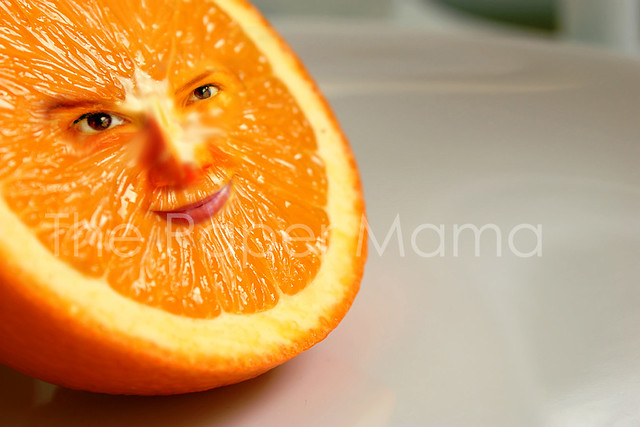
OR this... (I made an Ashley Orange version for Ashley Sisk, one of our contributors):
*Note how this piece of fruit is angled. I transformed the perspective {Edit>Transform>Perspective} of the face layer to match the angle of the orange.
OR this:
 |
| {via} |
OR this:
 |
| {via} |
We'd LOVE to see if you try this out for yourself! If you do... please add your photo to our Flickr group! AND, comment below with a link so we know you did. :D
Friends that have followed this tutorial:

This is fantastic and fun! I'm going to have to try this. I love the results you got, but I imagine a lot of that has to do with the exact photo you use to integrate with the fruit. Well done!
ReplyDeletelol too funny!!
ReplyDeleteI can't wait to try this! Thank you so much for the tutorial!
ReplyDeleteBecky Sue